# Application Grants
In the previous articles we have covered the following topics:
- what types of apps are available;
- how to create an application identity in the Admin Portal;
- how to get the parameters needed for OAuth 2.0 flows.
At this point, if you tried to follow the above, you would have an application identity registered. However, if you tried to use it to get access to Ability Platform APIs, you wouldn't succeed. This is because the application needs to have some permissions assigned. "Raw" application identity does not have any permissions. Ability Platform allows you to assing the correct permissions via a system of grants. Look at the graphics below that shows you what layers the system consists of:
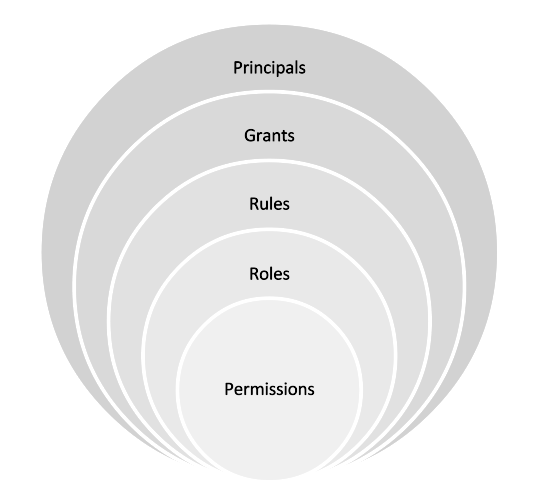
Permission – An action that applies to a specific endpoint, i.e. object_model_create is a permission that allows to create new object models.
Role – A collection of permissions, i.e. you could create a role called "Type Definitions Manager" and allow all CRUD operations on the type definitions.
Rule – Additional filtering on the role - allows to limit a very broad permission, i.e. you might want to allow deletion of objects (object_model_delete permission), but only those that are of type "abb.motor".
Grant – A combination of a role and rules(s). This the "final" entity that may be applied to principals. When you define your roles, and (optionally) add some rules to them, you get a grant.
Principal – Users, groups, applications, and devices. These are all the entities that can access the Ability Platform APIs. In order to do that, they need proper grants. In practice, users or groups cannot access the APIs directly. They do it via applications (additionally, Background apps can access the APIs on their own, without user being logged in).
Now, let's go through the process of creating a grant and assigning it to some principal. Most of the operations are done on the level of a solution, which acts as a container for your apps, devices, roles, grants, etc.
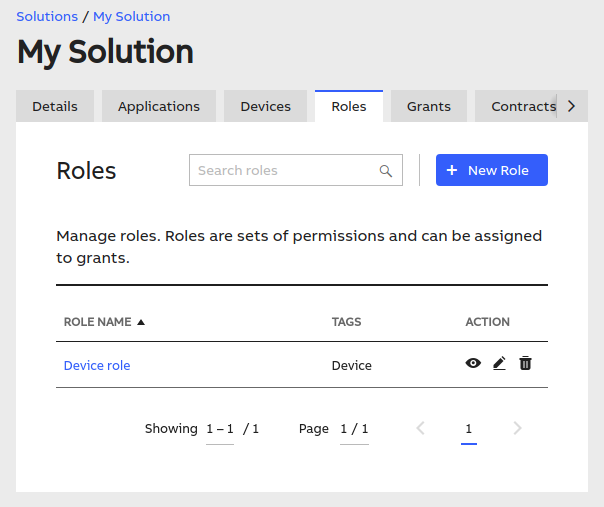
# Creating a role
First of all, you need a role that includes proper permissions. In the Admin Portal, in your solution, navigate to the "Roles" tab. You will find there an option to create a new role (note that you need to have proper access to do that).
When you click the button, you will see a form that allows you to name your new role and select the permission that it requires.
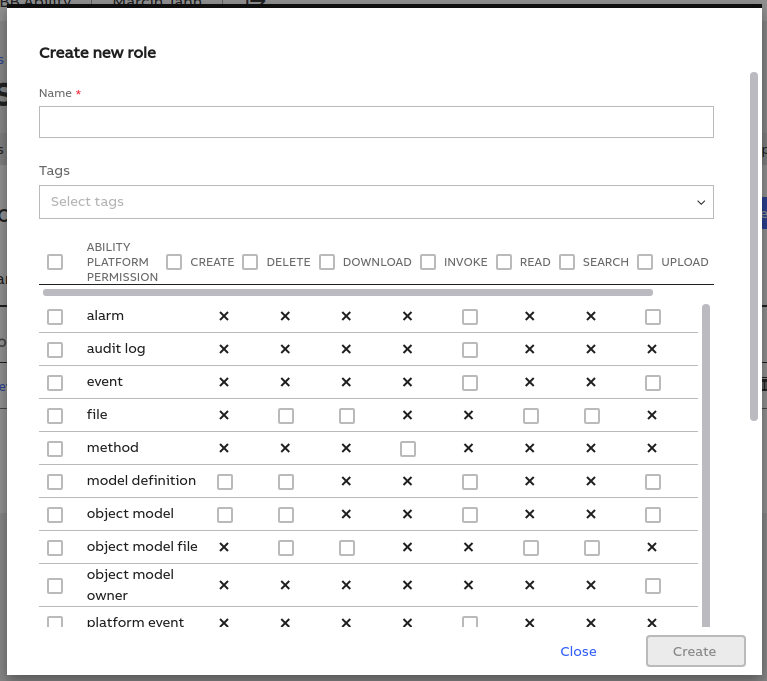
WARNING
Always stick with the Principle of least privilege. Define your rules/grants in a way that they expose only the level of access that your solution requires.
After selecting the right permission, save the role.
# Creating a grant
The next step is to define a new grant, based on a role that you have just created. Still, in your solution, navigate to the "Grants" tab:
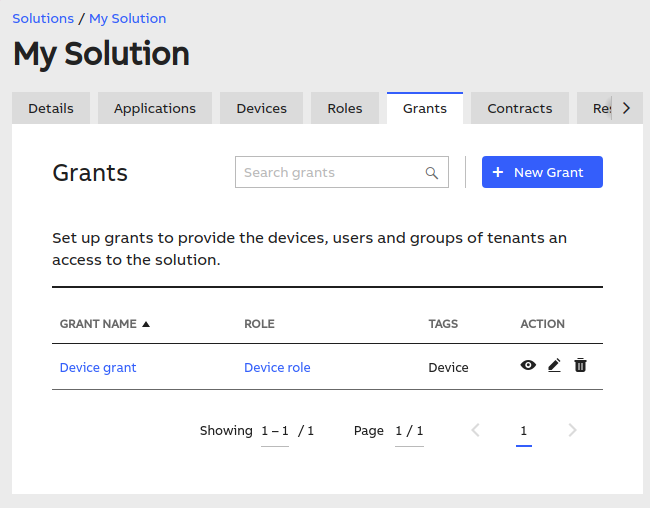
To create a new one, click the blue button. You will need to:
- name your grant
- (optionally) choose a tenant that this grant should be limited to. If you do not select anything in this field, your grant will be accessible by any tenant that is contracted with your solution.
- (optionally) choose some tags for your grant
- select the role that your grant is based on
- (optionally) add some rules to the grant, to limit the level of access that it allows
After that, save the new grant.
# Assigning the grant
The last piece of the puzzle is to actually assign the grant to your principals. Depending on your use case, different principals will be involved:
- if your application is a Background app, the grant would be assigned just to the app
- if your app is either a Web app, Single Page App, or a Native app, you will need to assign the grant to both the app, and the user (or a group of users) who will be using the application.
TIP
You are also able to assign permission to devices. Note, however, that by default all of your devices are placed in a group that already has a "Device grant" assigned. This grant has all the permission that the device can have. If your device does not need all of them, you might want to create a custom grant, and assign it to your device instead.
# Assigning grants to applications
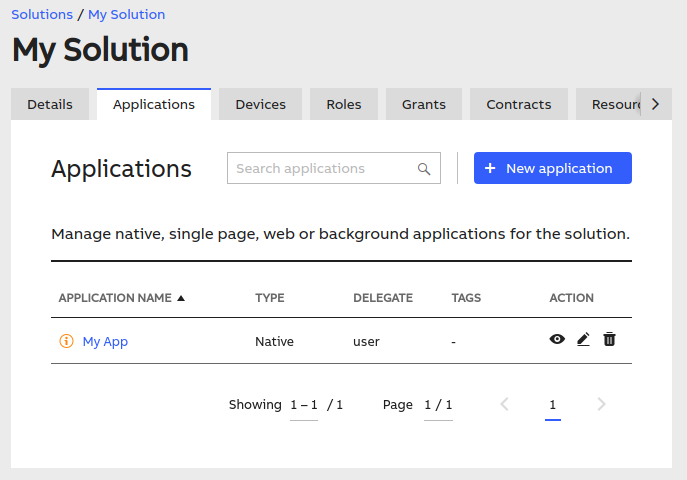
In order to let your application access the Ability Platform APIs, you need to assign the proper grant to it. Navigate to the "Applications" tab in your solution and select your application (or create a new one, if you haven't done it yet):
Then, navigate to the "Grants" tab in your application's details view:
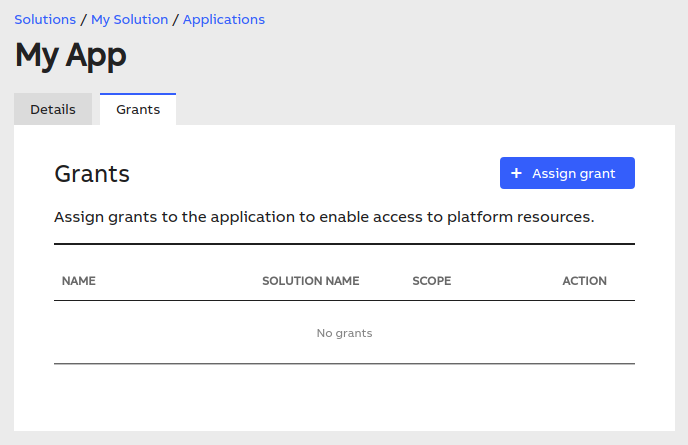
Click the blue button to assign a new grant and select the one(s) that you want your application to have. Then, hit the "Save" button.
# Assigning grants to users
If your application is a User-delegated one (basically, not a background app), you will need to assign the grant also to the users that will be using this app.
This time, you need to go to the "Tenants" section of the Admin Portal, and select the tenant where your users reside.

TIP
Make sure that the tenant has a contract with your solution. Otherwise, you will not be able to assign the grants that were defined in your solution to the users of this tenant.
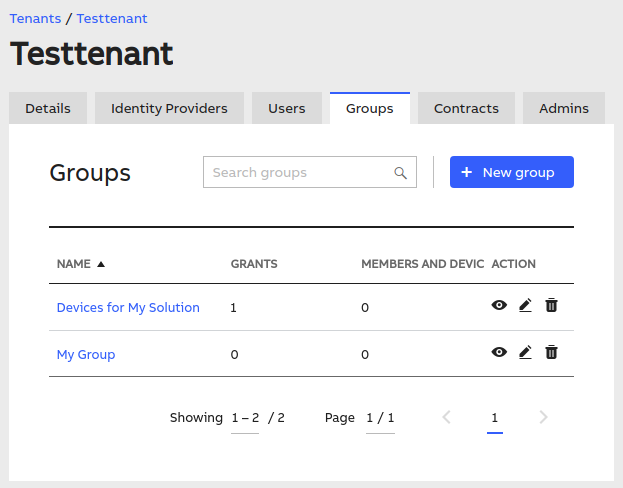
You might want to assign your grant to a specific user, or (most likely) to a group of users. Depending on your choise, select either "Users" or "Groups" tab in your tenant:
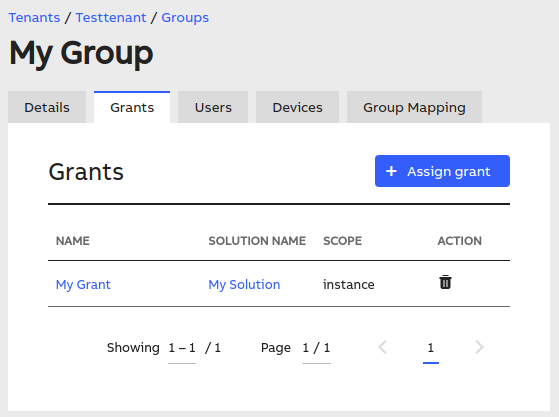
In the user/group details view, select the "Grants" tab, and assign the proper grant. Here's an example of a group with a grant:
Now, after the setup is over, you might try to access the APIs.