# Configure Solution
This document will execute the steps to complete the solution configuration. The steps are based on the Solution request example and can be executed when Operations or an Ability Adminsitrator completes the Solution request for your instance.
# Example Configuration
The following example request is replicated from the Solution request.
| Parameter | Value |
|---|---|
| Solution Name | ADP |
| Solution Scope | instance |
| Solution Namespace | adp.demo |
| Solution Administrator | first_name.last_name@country.abb.com |
| Background Application | BGA |
| Tenant 1 Alias | ADP (abboaa.onmicrosoft.com) |
| Tenant 1 Id | 3dbfa739-4be4-438e-bf17-bbcf853088db |
| Tenant 1 Identity Provider | ABB Ability(tm) Issuing TEST CA 02 |
| Tenant 1 Self Signup | enable |
| Tenant 1 Admin Identity | 98709be7-eb4f-4b3f-a15d-a33b970e5dac |
| Tenant 1 Admin Name | ADP Tenant Admin 01 |
| Tenant 1 Admin Email | adpAdmin01@abboaa.onmicrosoft.com |
| Tenant 1 Non-Admin Identity | ee5e41bb-3f24-436c-848e-7d2a441ac524 |
| Tenant 1 Non-Admin Name | ADP User 01 |
| Tenant 1 Non-Admin Email | adpUser01@abboaa.onmicrosoft.com |
| Tenant 2 Alias | UST (abboaa.onmicrosoft.com) |
| Tenant 2 Id | 3dbfa739-4be4-438e-bf17-bbcf853088db |
| Tenant 2 Identity Provider | ABB Ability(tm) Issuing TEST CA 02 |
| Tenant 2 Self Signup | enable |
| Tenant 2 Admin Identity | 3505fea9-ab50-4931-b740-b3a95c379485 |
| Tenant 2 Admin Name | US Tenant Admin 01 |
| Tenant 2 Admin Email | usAdmin01@abboaa.onmicrosoft.com |
| Tenant 2 Non-Admin Identity | ef6eda9b-6e52-473b-8b72-2bcdd19cf8c5 |
| Tenant 2 Non-Admin Name | US User 01 |
| Tenant 2 Non-Admin Email | usUser01@abboaa.onmicrosoft.com |
# Configure the Solution
Once operations has defined your Solution, use the following steps to complete the Solution configuration.
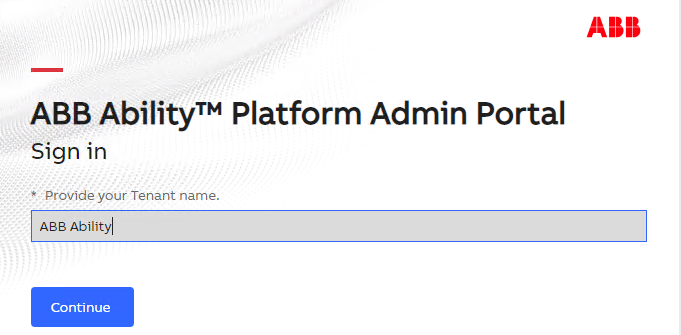
- Use the Chrome browser to login to the Admin Portal. You will need the
Admin Portal URL, Tenant Alias, and your ABB AAD Solution Admin from
your Instance to login.
- Click
Solutionsand view yourSolution Name.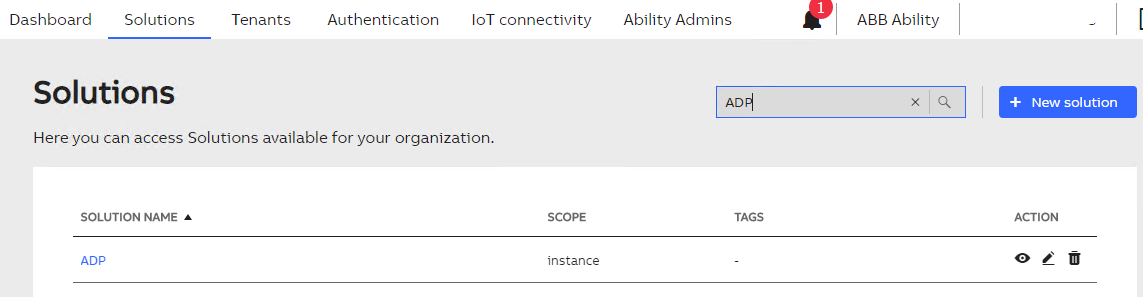
- View your solution and select the
Rolestab and clickNew Role.
- Set the name to
Admin role, select all the permssions and save it.
- Click
New Roleto createUser role. Excludemodel_definition_create,model_definition_delete,model_definition_write,type_definition_create,type_definition_delete, andtype_definition_writeand save it.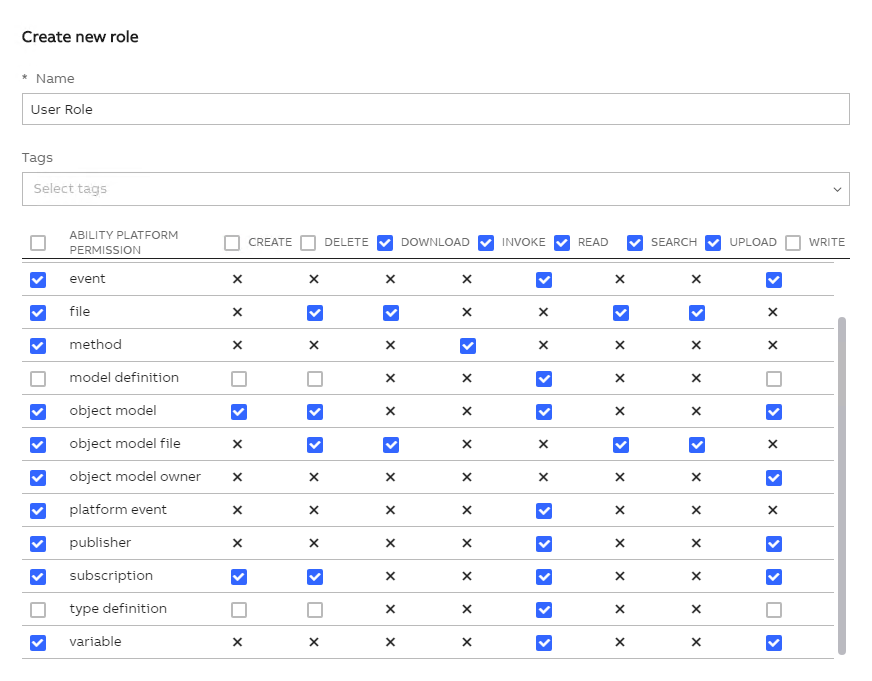
- Select the
Grantstab and clickNew Grant.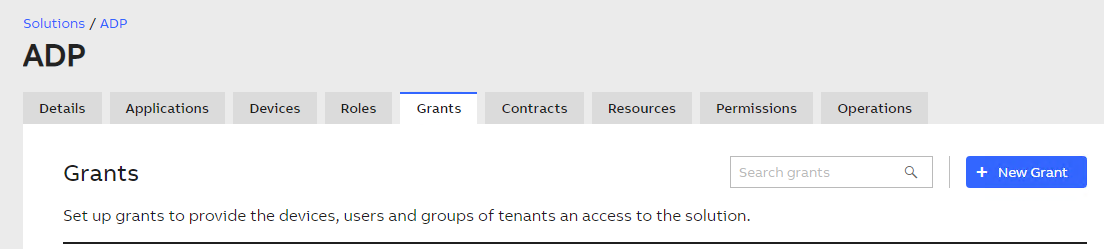
- Set the name to
Admin grantand select theAdmin roleand save it.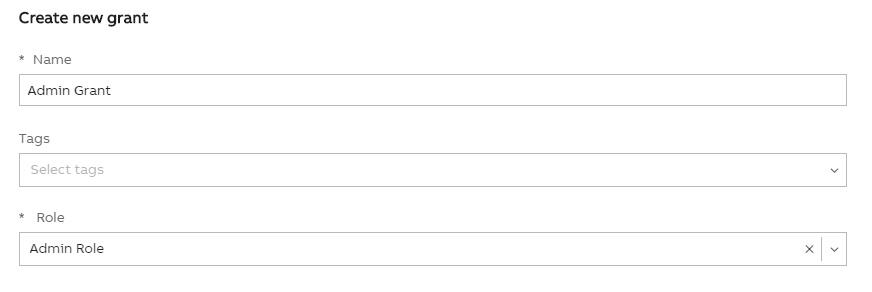
- Click
New Grantagain and set the name toUser grantand select theUser roleand save it.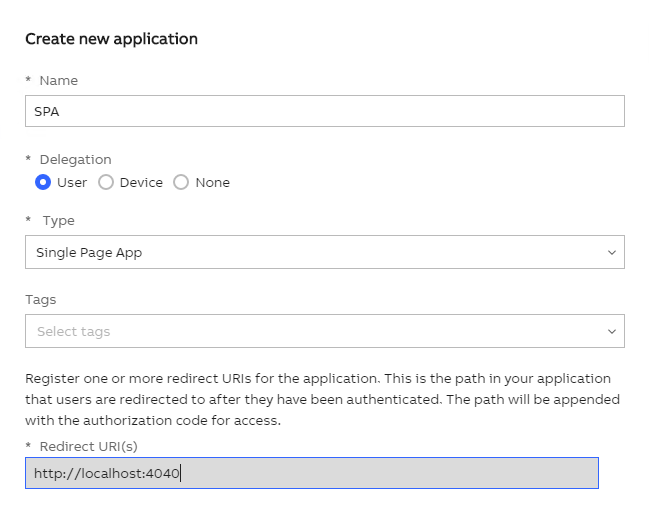
- Select the
Applicationstab and clickNew Application.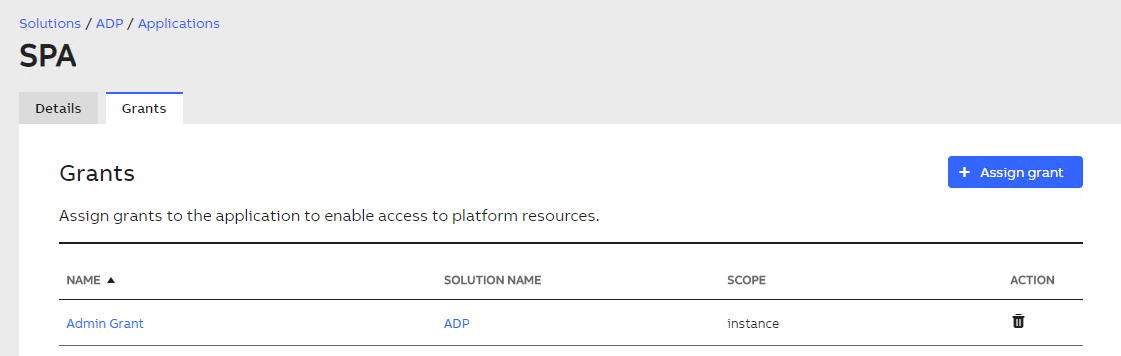
- Set the name to
SPAfor SinglePageApp,userfor Delegation,singlePageAppfor Type, usehttp://localhost:4040for Redirect Uris, and save it.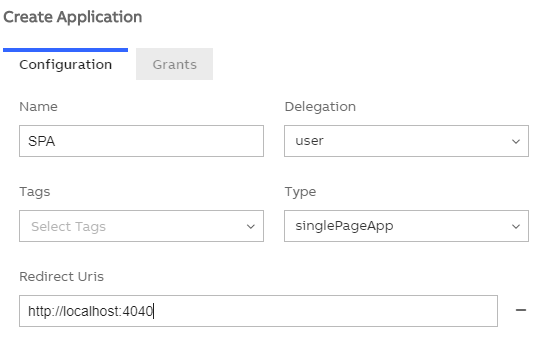
- Immediately edit the SPA application, select the 'Grants' tab and select the
Admin grantand click update.
- Only
Ability Adminscan create and assignGrantstoBackground Applications. Contact yourSolution Adminto assign theUser Grantto the `Background Application' defined in the solution.
This completes the Solution configuration and the permssions can now be assigned for Tenant users