# Configure Hyper-V
The following steps will add the necessary configuration to support development and test of Edge software. The starting point for these steps begin on the first login to the Windows Server. The primary goal is to configure the environment to support multiple Linux VMs that acquire DHCP addresses and have access to the WWW. Where the steps are not trivial, addition guidance is provided. Here is an over view of the steps covered in this article:
- Update the timezone to match your local time and region
- Verifify IE Enhanced Security is
Offfor Administrators. This will allow download of Chrome. - Install Chrome
- Install Hyper-V, reboot
- Create NAT network
- Install and configure DHCP
- Run Windows Update to install the latest Mircosoft Updates
The detailed steps are linked to below. Once completed, the node can be VNET peered to a Ability Instance. VNET peering will allow access to the Platform Instance APIs and this will allow uploading types and accessing any data sent to the Platform from Edge devices.
TIP
These install steps will also work with non-Azure Windows Server installations. However, Instance API access will not be possible if non-Azure hardware is used. The server can still be used to host Edge nodes but another machine will be needed to access Instance APIs.
TIP
Windows 10 creates a NAT and provides DHCP addresses to Virtual Machines when Hyper-V is installed. Windows 10 is an alternate enviroment that can be used. If the Windows 10 hardware meets the desired performance requirements, the Windows 10 environment could be used to provide the same environment this procedure is creating on Windows Server. See Hyper-V on Windows for more information.
# Prerequisites
- Use the Azure Sever VM procedure to setup a Windows Server VM with
D4s_v3orD32s_v3VMs. - Login to the environment.
# Set the Timezone
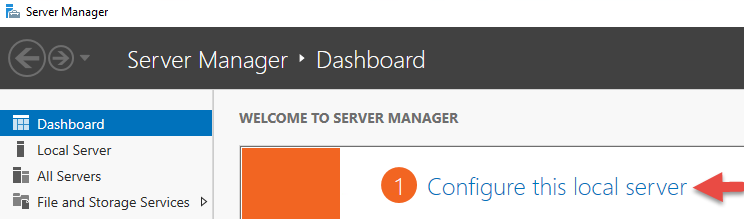
- Start the Server Manager
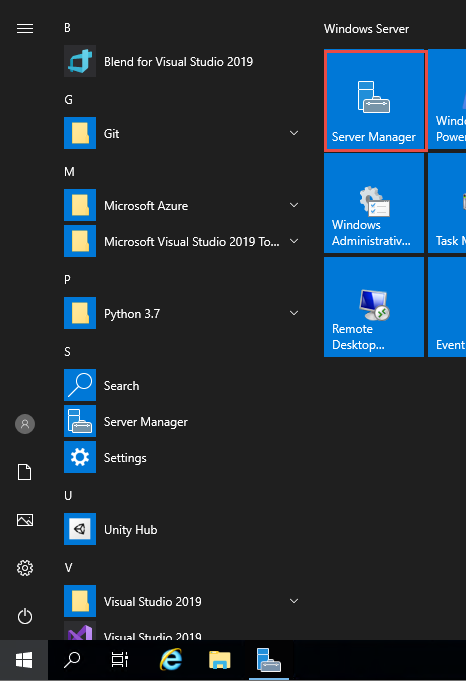
- Select
Configure this local server
- Select the timezone link to pick the desired timezone.

# Confirm IE Enhanced Security Setting
- From the Server Manager application, again select
Configure this local serverand select the link forIE Enhanced Security Configuration

- Verify the setting are as follows. If not, modify to match and save.
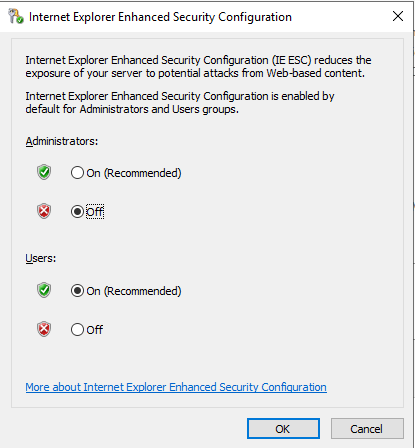
- Using Internet Explorer, Install Chrome and set Chrome as the default browser.
# Install Hyper-V
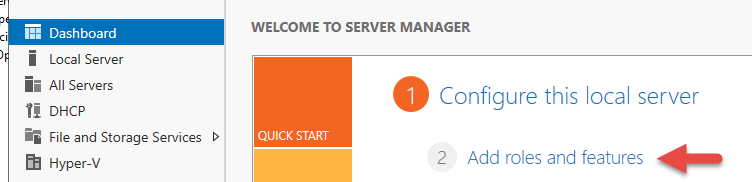
- Start the Server Manager
- Select
Add Roles and Features
- Follow these screens to install Hyper-V
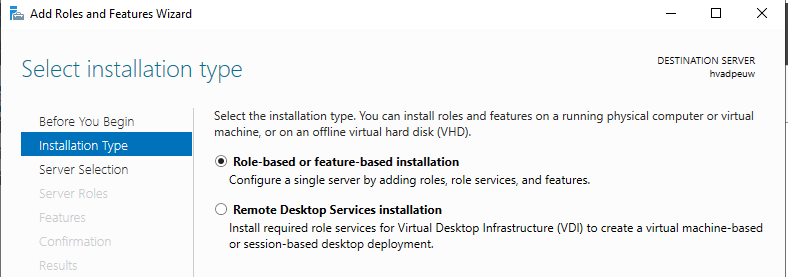

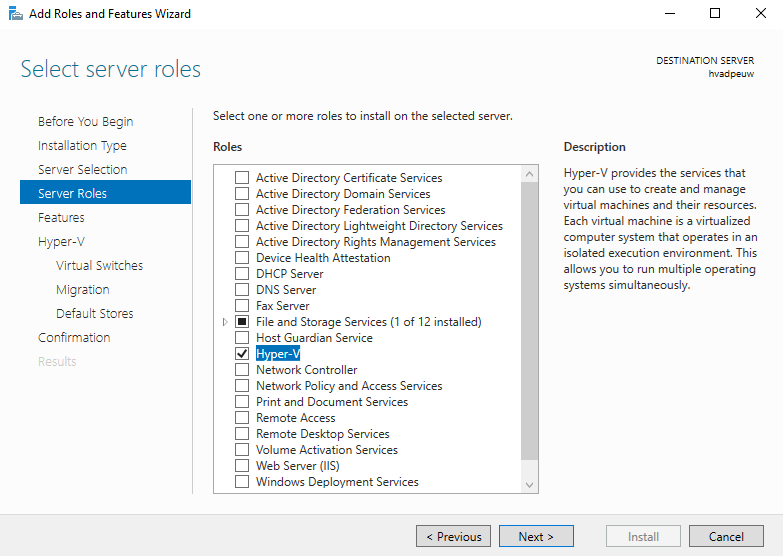
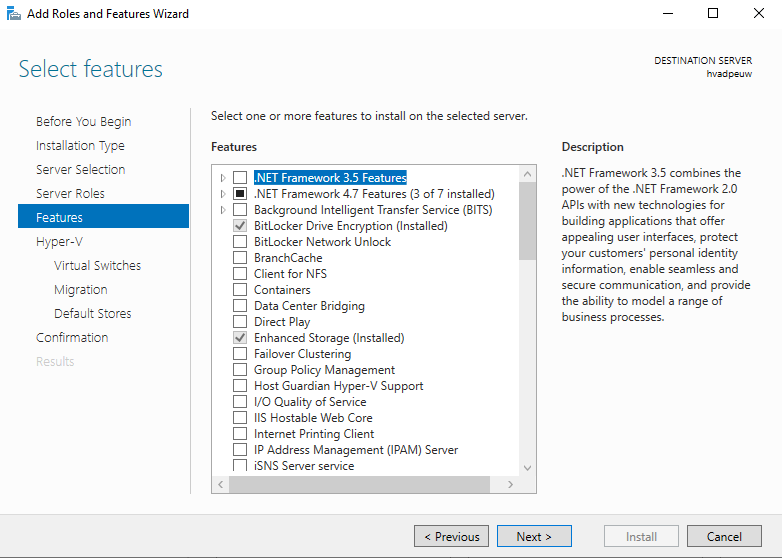
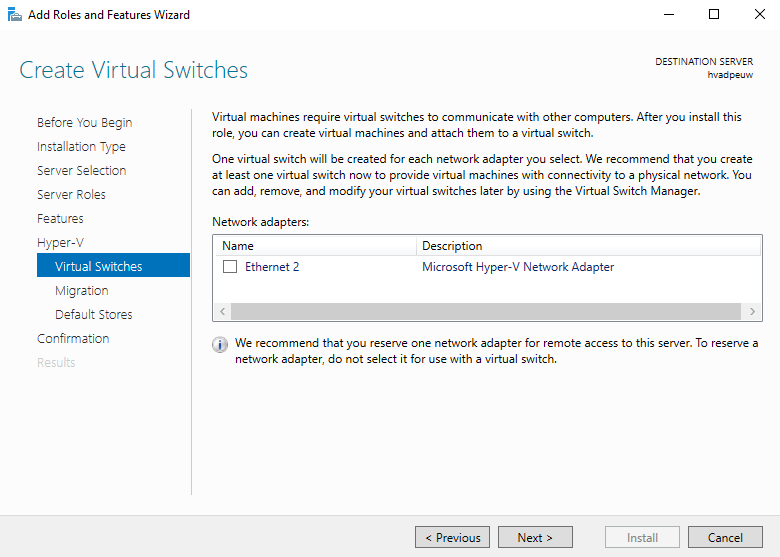
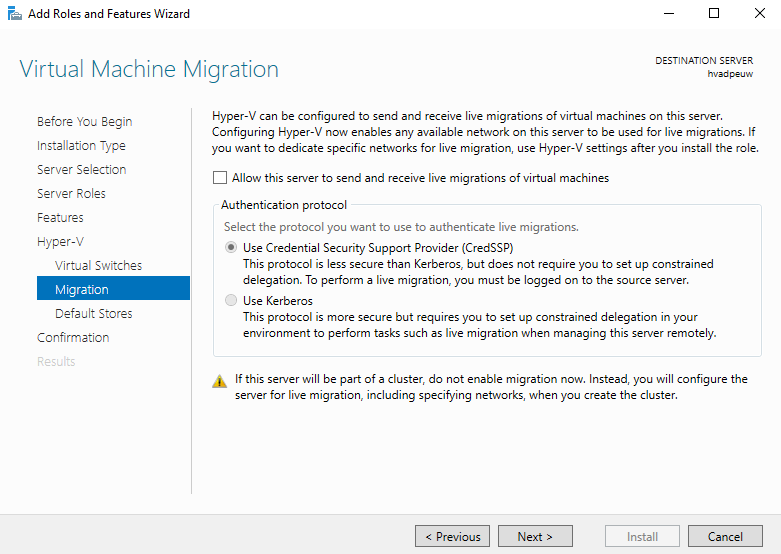
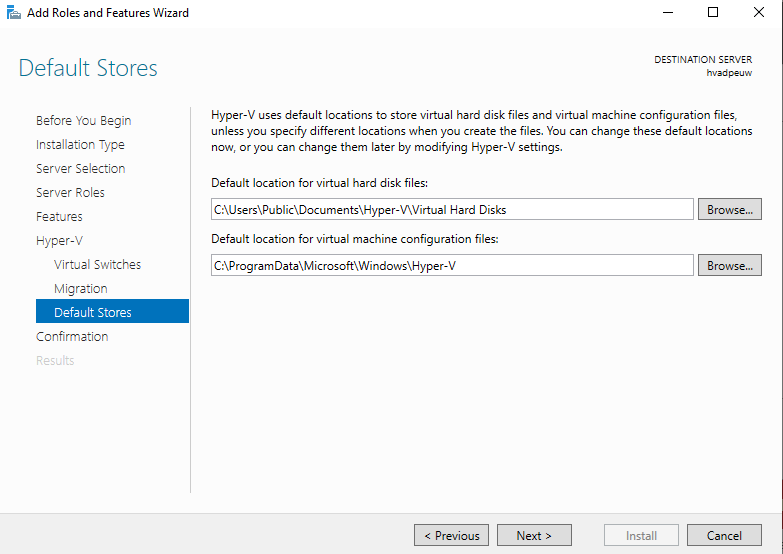
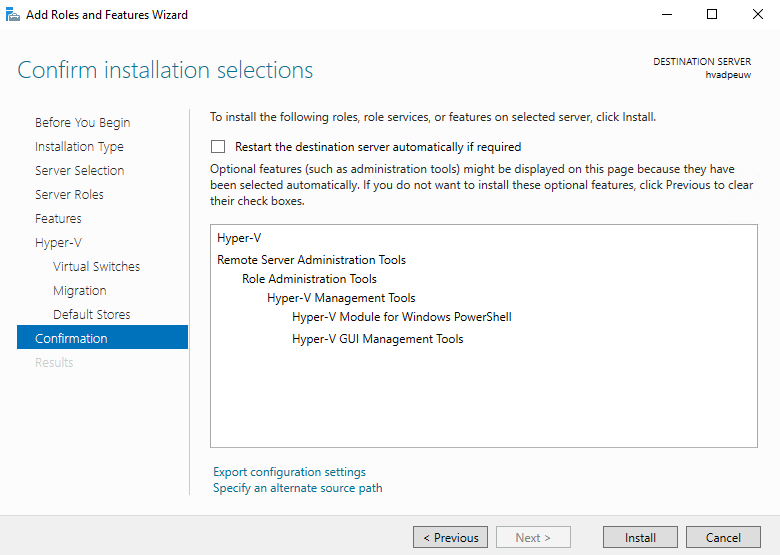
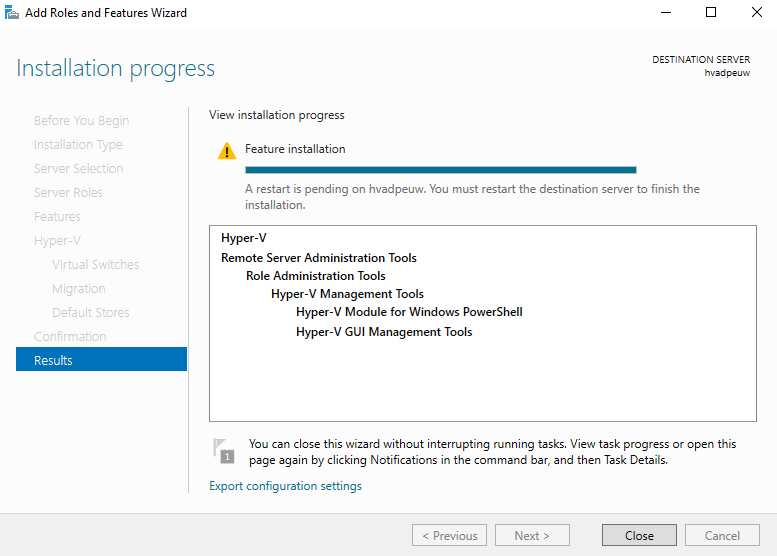
- Reboot when installation is complete
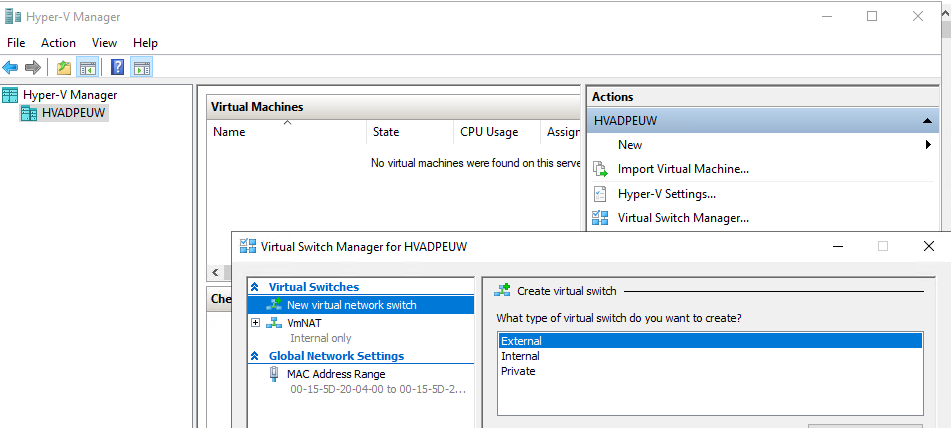
# Create NAT
Virtual Machines on Azure VM require a local NAT network. This provides a network for DHCP to automatically provide network cofiguration and internet access for the virtual machines.
- Open a cmd prompt.
- Use Notepad.exe to create a
nat.ps1file,notepad.exe nat.ps1 - Copy the following into the file and save and exit note pad.
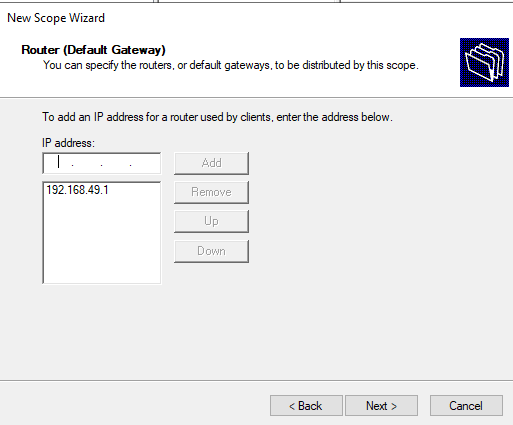
New-VMSwitch -Name VmNAT -SwitchType Internal
New-NetNat -Name LocalNAT -InternalIPInterfaceAddressPrefix "192.168.49.0/24"
Get-NetAdapter "vEthernet (VmNat)" | New-NetIPAddress -IPAddress 192.168.49.1 -AddressFamily IPv4 -PrefixLength 24
- Execute the file.
./nat.ps1 - Open Hyper-V Manager and confirm the
VmNatvirtual swtich is defined.
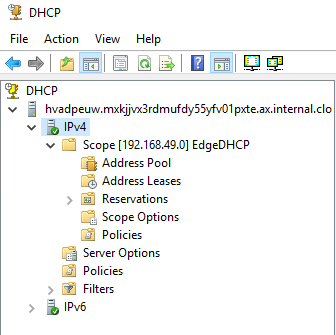
# DHCP
Windows server provides DHCP functionality. The following steps will install and configure it to support the NAT created.
- Start the Server Manager
- Select
Add Roles and Features
- Select 'DHCP`
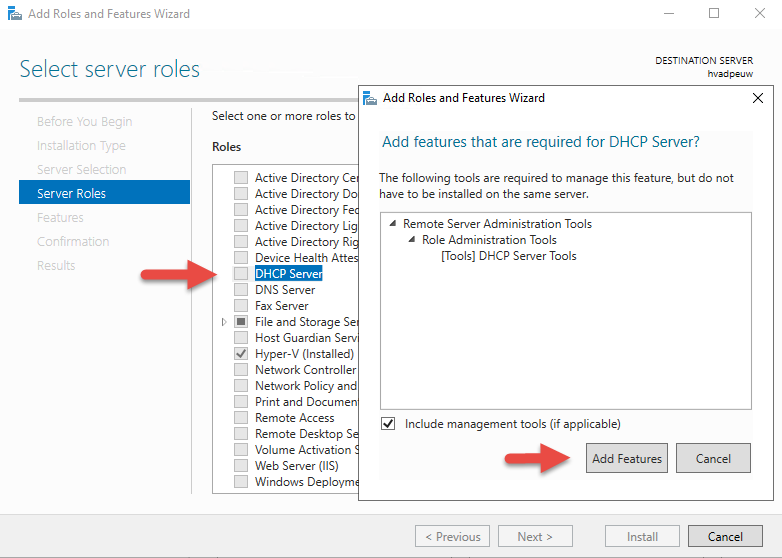
- Select
Nextfor the remaining srceens until the install screen
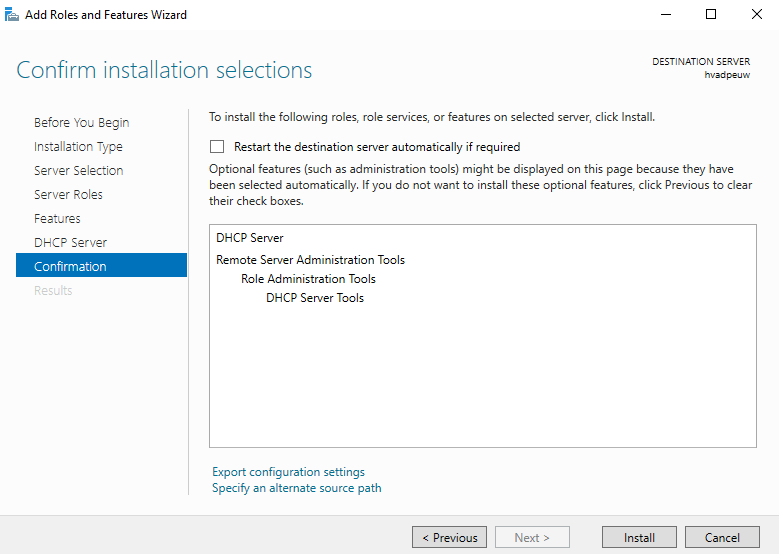
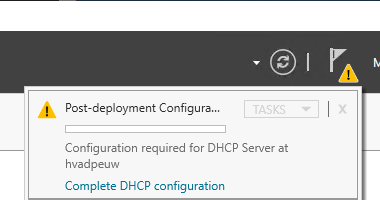
- Once the install is complete, return to the Server manager to complete the DHCP configuration.

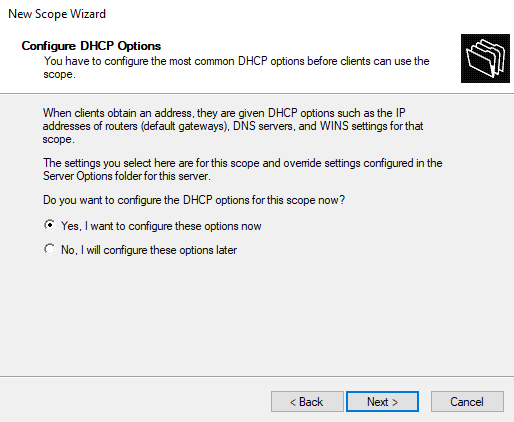
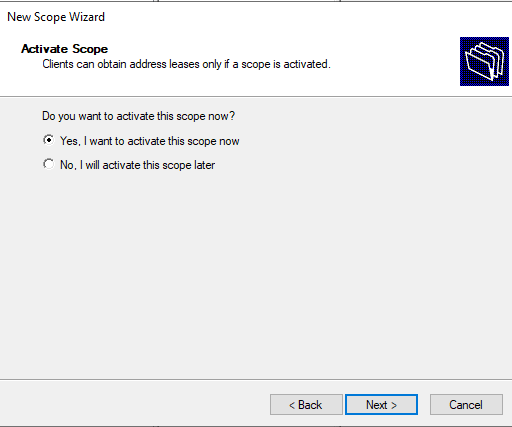
# Configure DHCP
DHCP can be configured for the VmNAT previously created. This will provide automatic IP addresses for all the VMs created on the VmNAT virtual switch. All VMs will have internet access with this configuratoin.
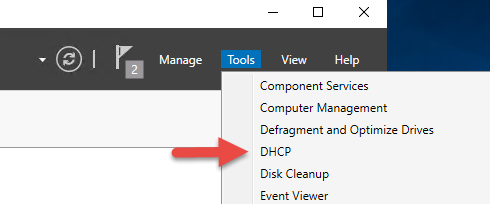
- From the Server Manager, open the DHCP Administorator tool.
- Select IPv4 and
Create Scopefrom the pull down menu.
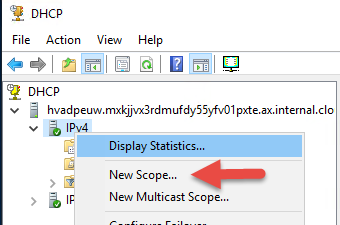
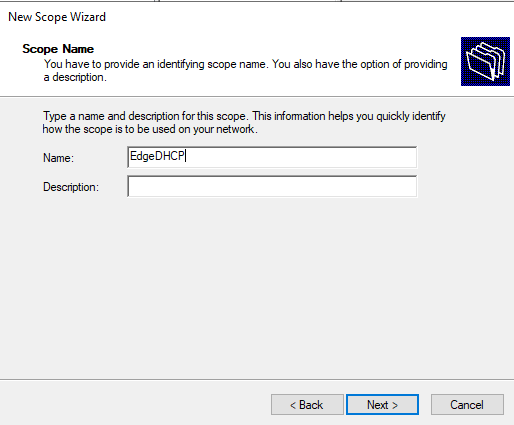
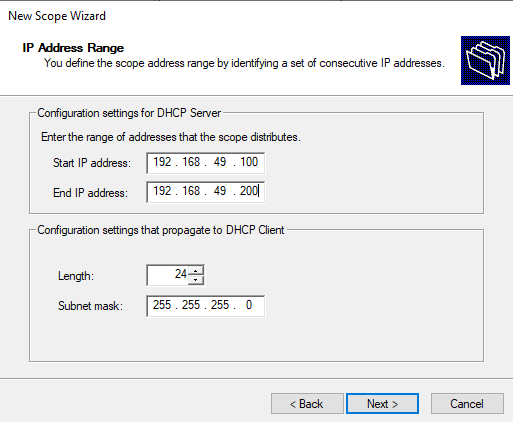
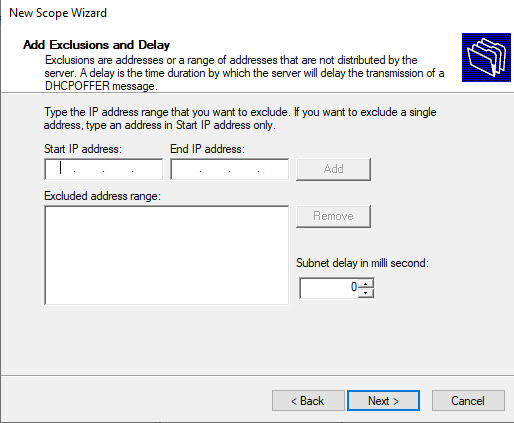
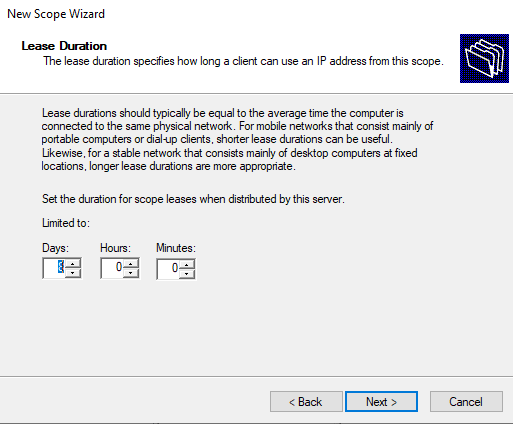
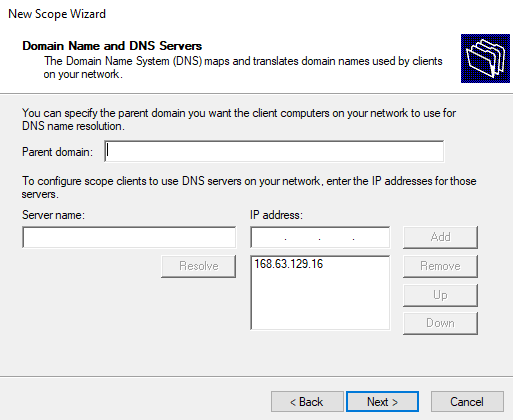
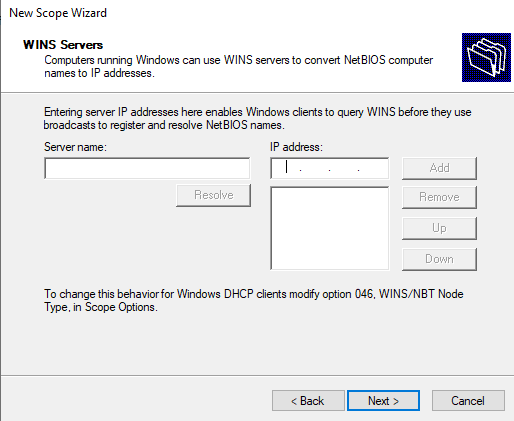
- Follow these steps to create the DHCP Scope
# Run Windows Update
Open the setting and navigate to Windows Updates. Check for and install the latest updates.
# Install Putty
The Hyper-V console if very limiting when using cut/paste to transfer information. When using Putty, the window provides a scroll bar to review output and it is easy to cut and paste text from the host to/from the Putty window. Other terminal applications can be used if Putty doesn't meet your needs.
# Install WinSCP
WinSCP can be used to transfer files to and from Ubuntu VMs.
TIP
If you configure all you logins with Putty before you start WinSCP the first time, WinSCP will prompt you to import all the Putty sessions into WinSCP.
# Next Steps
The server is now configured and will support creation of new Hyper V Virtual machines. DHCP will automatically provide an address for each machine. Continue to follow the Advanced Edge Development and Testing learning path to create a development Linux VM that can run client applications to communicate with the platform, build customer edges modules, and test them.