# Hyper-V Ubuntu Machine
Hyper-V is available on Windows 10 and Windows Server. This document provides the steps to create a Virtual Machine that will support Edge and Edge Development nodes.
# Prerequisites
- A Windows 10 or Windows Server environment with Hyper-V Installed and network access. This procedure was developed for a Windows Server in Azure with this Hyper-V configuration but is applicable to any Hyper-V environment.
- Download Unbutu Server 18.04 or 20.04
# Creating an Ubuntu Virtual Machine in Azure
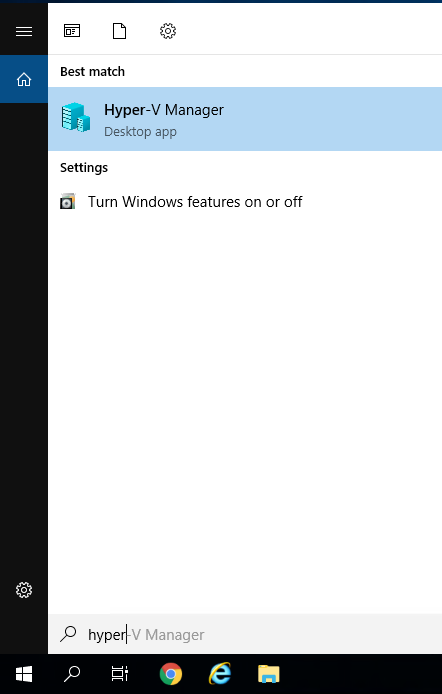
- Open Hyper-V Manager
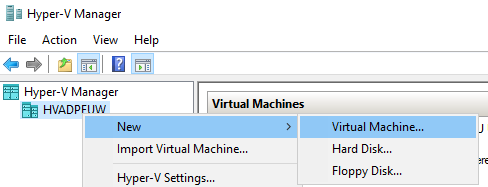
- Use the context menu for your host and select
New -> Virtual Machine
- Select next to advance to this screen to fill in the hostname and the directory to store the VM.
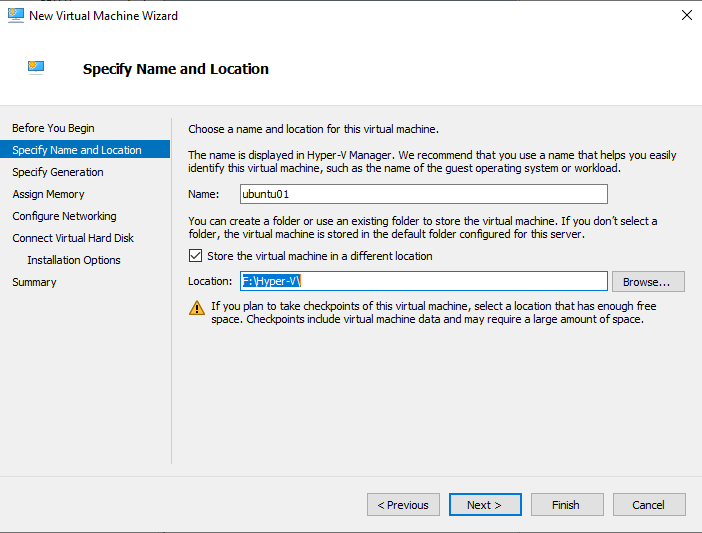
TIP
For consistency with multiple disk environments, it is recommnended to
create a root folder on each disk to store your VMs. In this example,
the common name is Hyper-V. This folder is created on the C drive and
any other data drives and VMs are distributed across the disks to
distribute disk I/O.
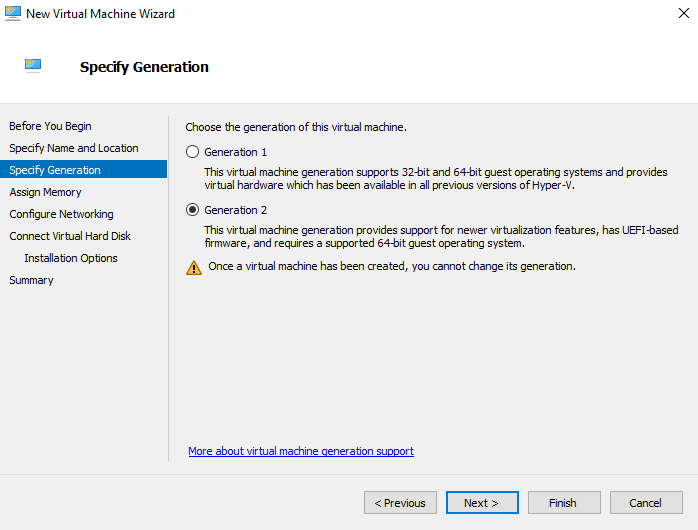
- Select
Nextand selectGeneration 2to support TPM 2.0
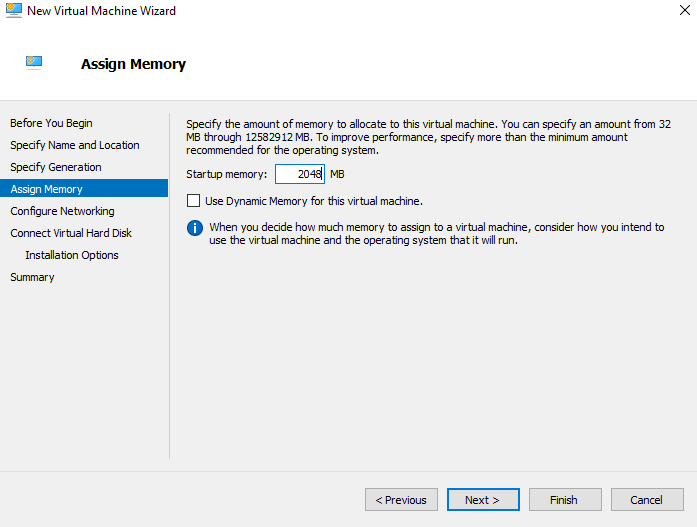
- Select
Nextand set the memory for the VM. 2GB of memory is sufficient for most development purposes. The minimum recommended is 1GB
- Select
Nextand select the network for the VM.
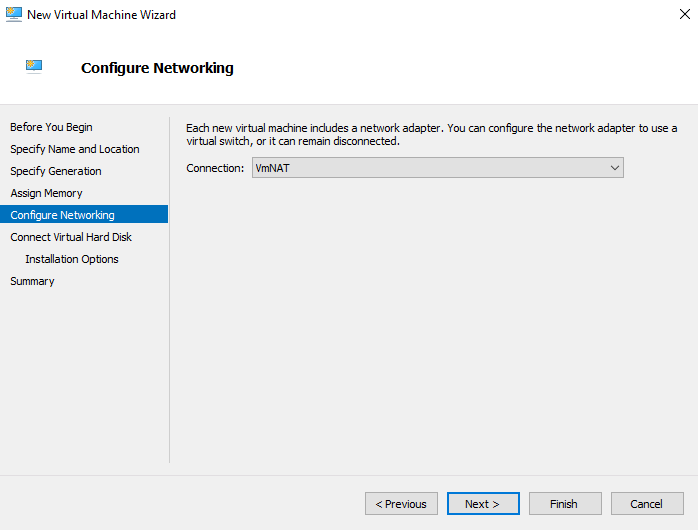
TIP
When installing Hyper-V on Windows 10, a NAT network is automatically created. For a Windows Server in Azure this Hyper-V configuration provides the equivalent functionality. When the environment is on a local network, a Virtual Switch can be created with direct access to the local network and any DHCP servers available.
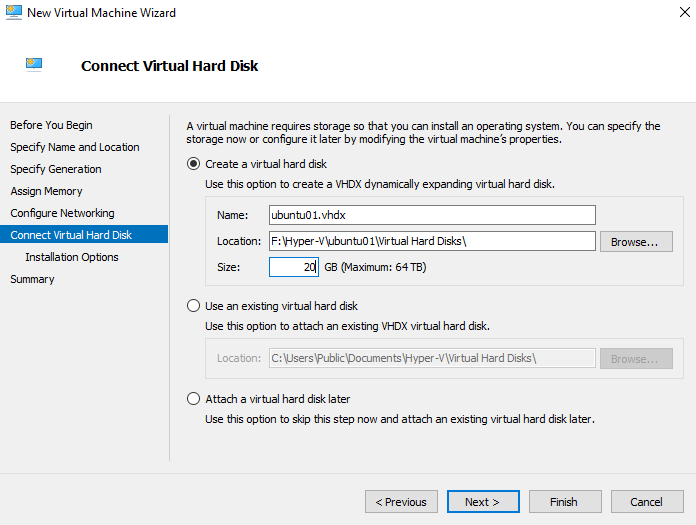
- Select
Nextand pick an appropriate maximimum disk size for the VM. 20GB is sufficient for most VMs.
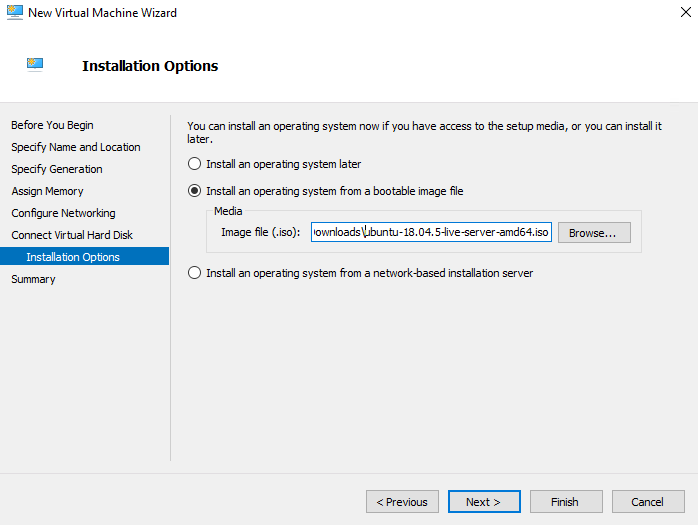
- Select
Nextand select the second radio button to select an ISO. In this example, Ubuntu 18.04.5 is selected.
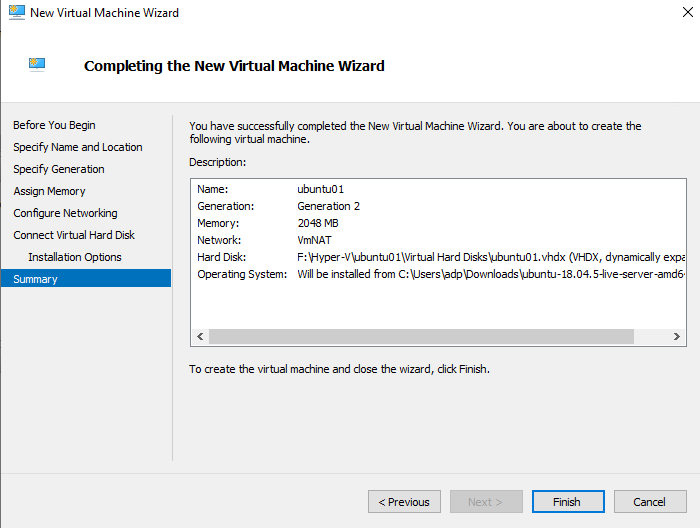
- Select
Next, review the confguration and hitFinish.
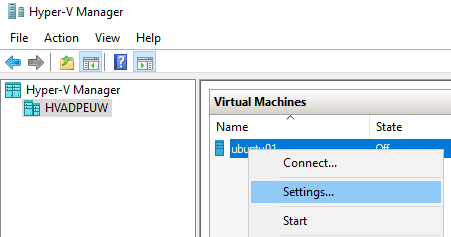
- Navigate to the VM and open the settings.
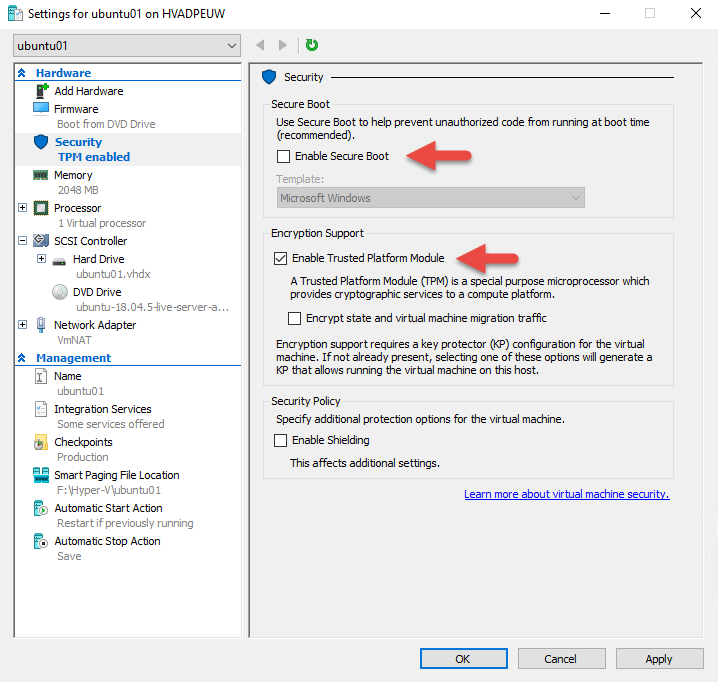
- In the
Securitysection, UncheckEnable Secure Bootand checkEnabled Trusted Platform Module. Optionally Navigate to theProcessorsection and increase the CPU count if required and resoruces are available to support a higher CPU count. Apply the changes and hit OK to close the window.
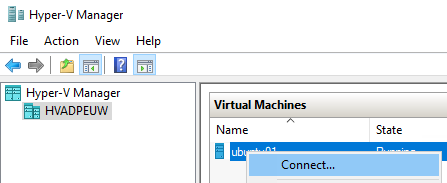
- Connect to the VM.
- Start the VM and Install Ubuntu Server.
Be sure to enable SSH during the Ubuntu Installation.
Once the installation finishes, this completes the steps to create an Ubuntu Server Hyper-V VM.
# Next Steps
This VM can be used to install an Edge and configure and run the Edge. It can also be the starting point for a Desktop Edge Development Environment.