# Install Ubuntu Using VMWare Workstation
This guide walks the user through setting up a VM with Ubuntu 18.04 LTS OS. Based on your host computer, determine how many CPU core and memory you can assign to the VM you create. 2 CPU cores, 4GB of memory, one NIC card and 20GB of disk space is recommended. If the machine will be used for development or the application will require additional resources for the planned work, all the resources can be updated as required. The directions that follow are based on a computer that has all prerequisites already installed.
# Prerequisites
Please make sure your computer is powerful enough to run a small VM and you have installed all the required software before you begin. Following is a list of all software and resources you will need to complete this guide:
- Download the ISO image for server or desktop 18.04 LTS Download.
- CPU with hardware virtualization support (ex. Intel VT-d) enabled.
- 20GB free space on your HDD.
- VMWare Workstation (Order from ABB MyServices | Purchase Directly
- Putty Download
# Creating an Ubuntu Virtual Machine
Download the latest version of Ubuntu 18.04 Server or Desktop Download.
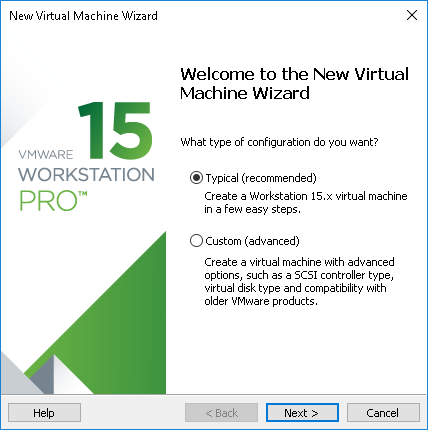
Start VMWare Workstation and select File → New Virtual Machine... .
These steps represent one way to configure the Virtual Machine. Select Typical.
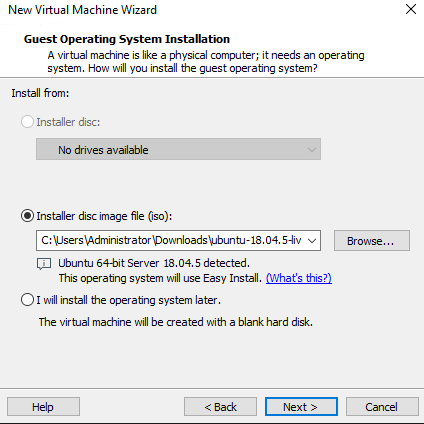
- Select the appropriate image, Desktop or Server 18.04 LTS.
- Enter a full name, user name, and password.

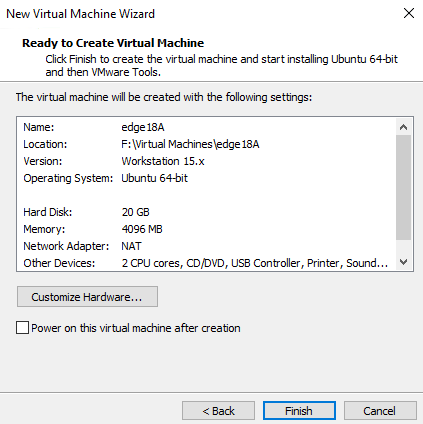
- Use the default location or select a new location for the VM.

- Select disk size. 20GB is the minimum. Use a single file for the disk.
 .
.
- Customize the hardware. 4GB of memory and 2 CPU cores are used in this example.
 .
.
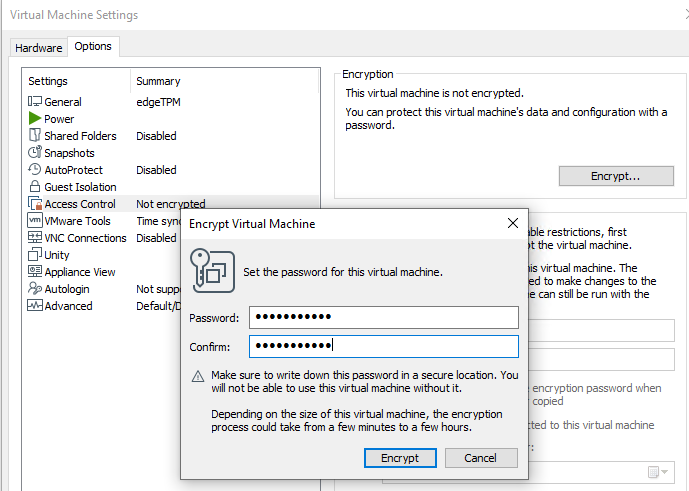
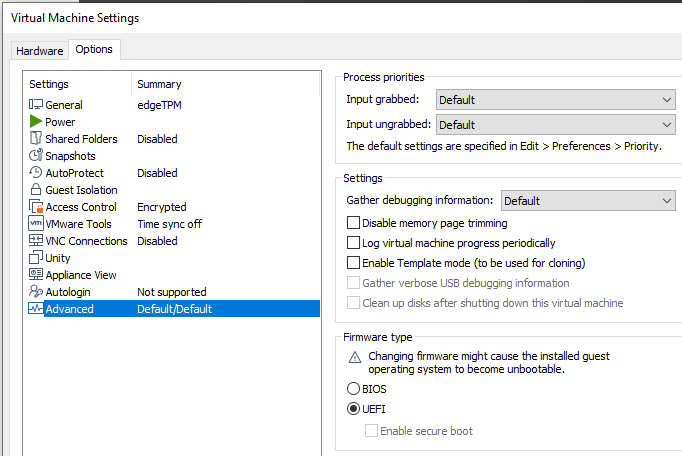
Edge software now supports VMWare virtual TPM. If this VM will be used to run an Edge, the VM must be encrypted and boot from UEFI before the TPM can be added.
- Edit virual machine settings, select Options tab and Access Control.
Select Encrypt and provide a password.
- Now select Advanced and change the firmware type to UEFI.
- Select the Hardware tab, select Add..., and add the Trusted Platform Module.
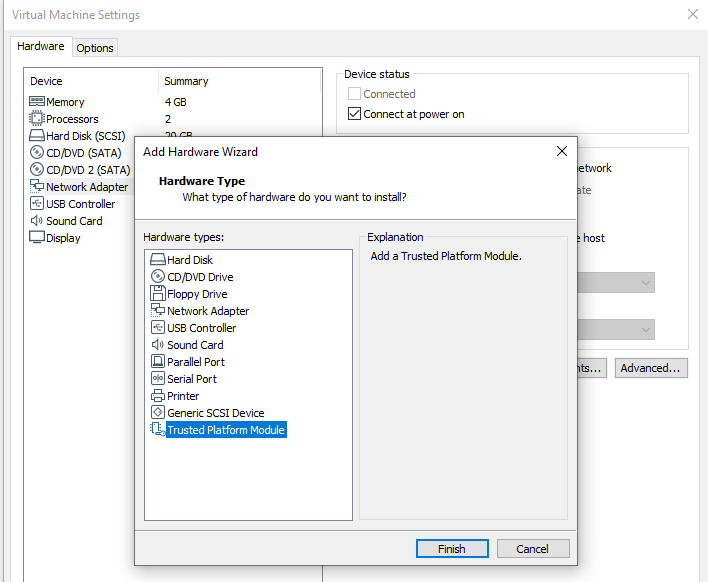
- Selct OK to save the changes.
- Edit virual machine settings, select Options tab and Access Control.
Select Encrypt and provide a password.
Start the Virtual Machine and follow the Ubuntu installation prompts for Server or Desktop.
After successful installation, log in and use
ip ato obtain the IP address.Start SSH client (i.e., Putty) on the host and try to connect to the VM.
# Next steps
WARNING
Are you on the ABB Network? If you have not already set up your system to work on the ABB Internet Proxy, which is required when on the ABB network, then start by setting up to work behind the proxy.
Set up the RSA key to access the source code repos codebits or VSTS.
Optional for Ubuntu Server
Optional for Ubuntu Desktop and Server