# Admin Portal
Before we start coding, first we need to set up our solution in the Admin Portal.
# Platform APIs
First, let's briefly discuss the two main API groups that Ability Platform exposes, which will give us a better understanding of Admin Portal's role in the process.
- Instance API
- Region API/Principal Manager API
The Instance API deals with all things related to the IoT entities: objects, telemetry data, relations between objects, etc. The Region API (often referred to as Principal Manager API) deals with concepts, such as solutions, tenants, users, applications, grants, etc. In general, Region API is used for management of your platform instance and allows you to set up the required access grants for your users or your applications. On the other hand, the Instance API allows you to do the "actual work" - create models of your devices, send/read data, subscribe to the data, and others - and all of these operations are constrained by the setup that you had done using the Region API.
Now that we know the roles of the APIs, let's get back to the Admin Portal. Admin Portal is the UI for the Region APIs that we just introduced. It will allow us to set up our solution in an easy way. Note that all the operations that we do in the Portal can also be done using the HTTP API (Region API) directly. In this guide, we will stick with the Portal.
Let's then "forget" for a moment about Instance APIs, and focus on setting up of our solution. First of all, let's actually explain what is our goal in this section. We are going to build a project consisting of 1 device and 1 application. We need some way to create identities for them so that we are able to assign appropriate level of permissions to the Instance API. Our application will be able to use some of the APIs, but not all of them. We should limit the access only to those operations that our application really needs. This is a good practice that should be followed in general, not only in the context of Ability Platform.
Let's proceed and navigate to the Admin Portal.
# Log into the portal
TIP
The URL of the Portal can be found in the mail that you received after your instance/sandbox environment has been created for you ("Ability Admin Portal URL").
When you navigate to the Admin Portal, the first thing that you're going to see is an ask to provide your tenant's name. Put it in and log in.
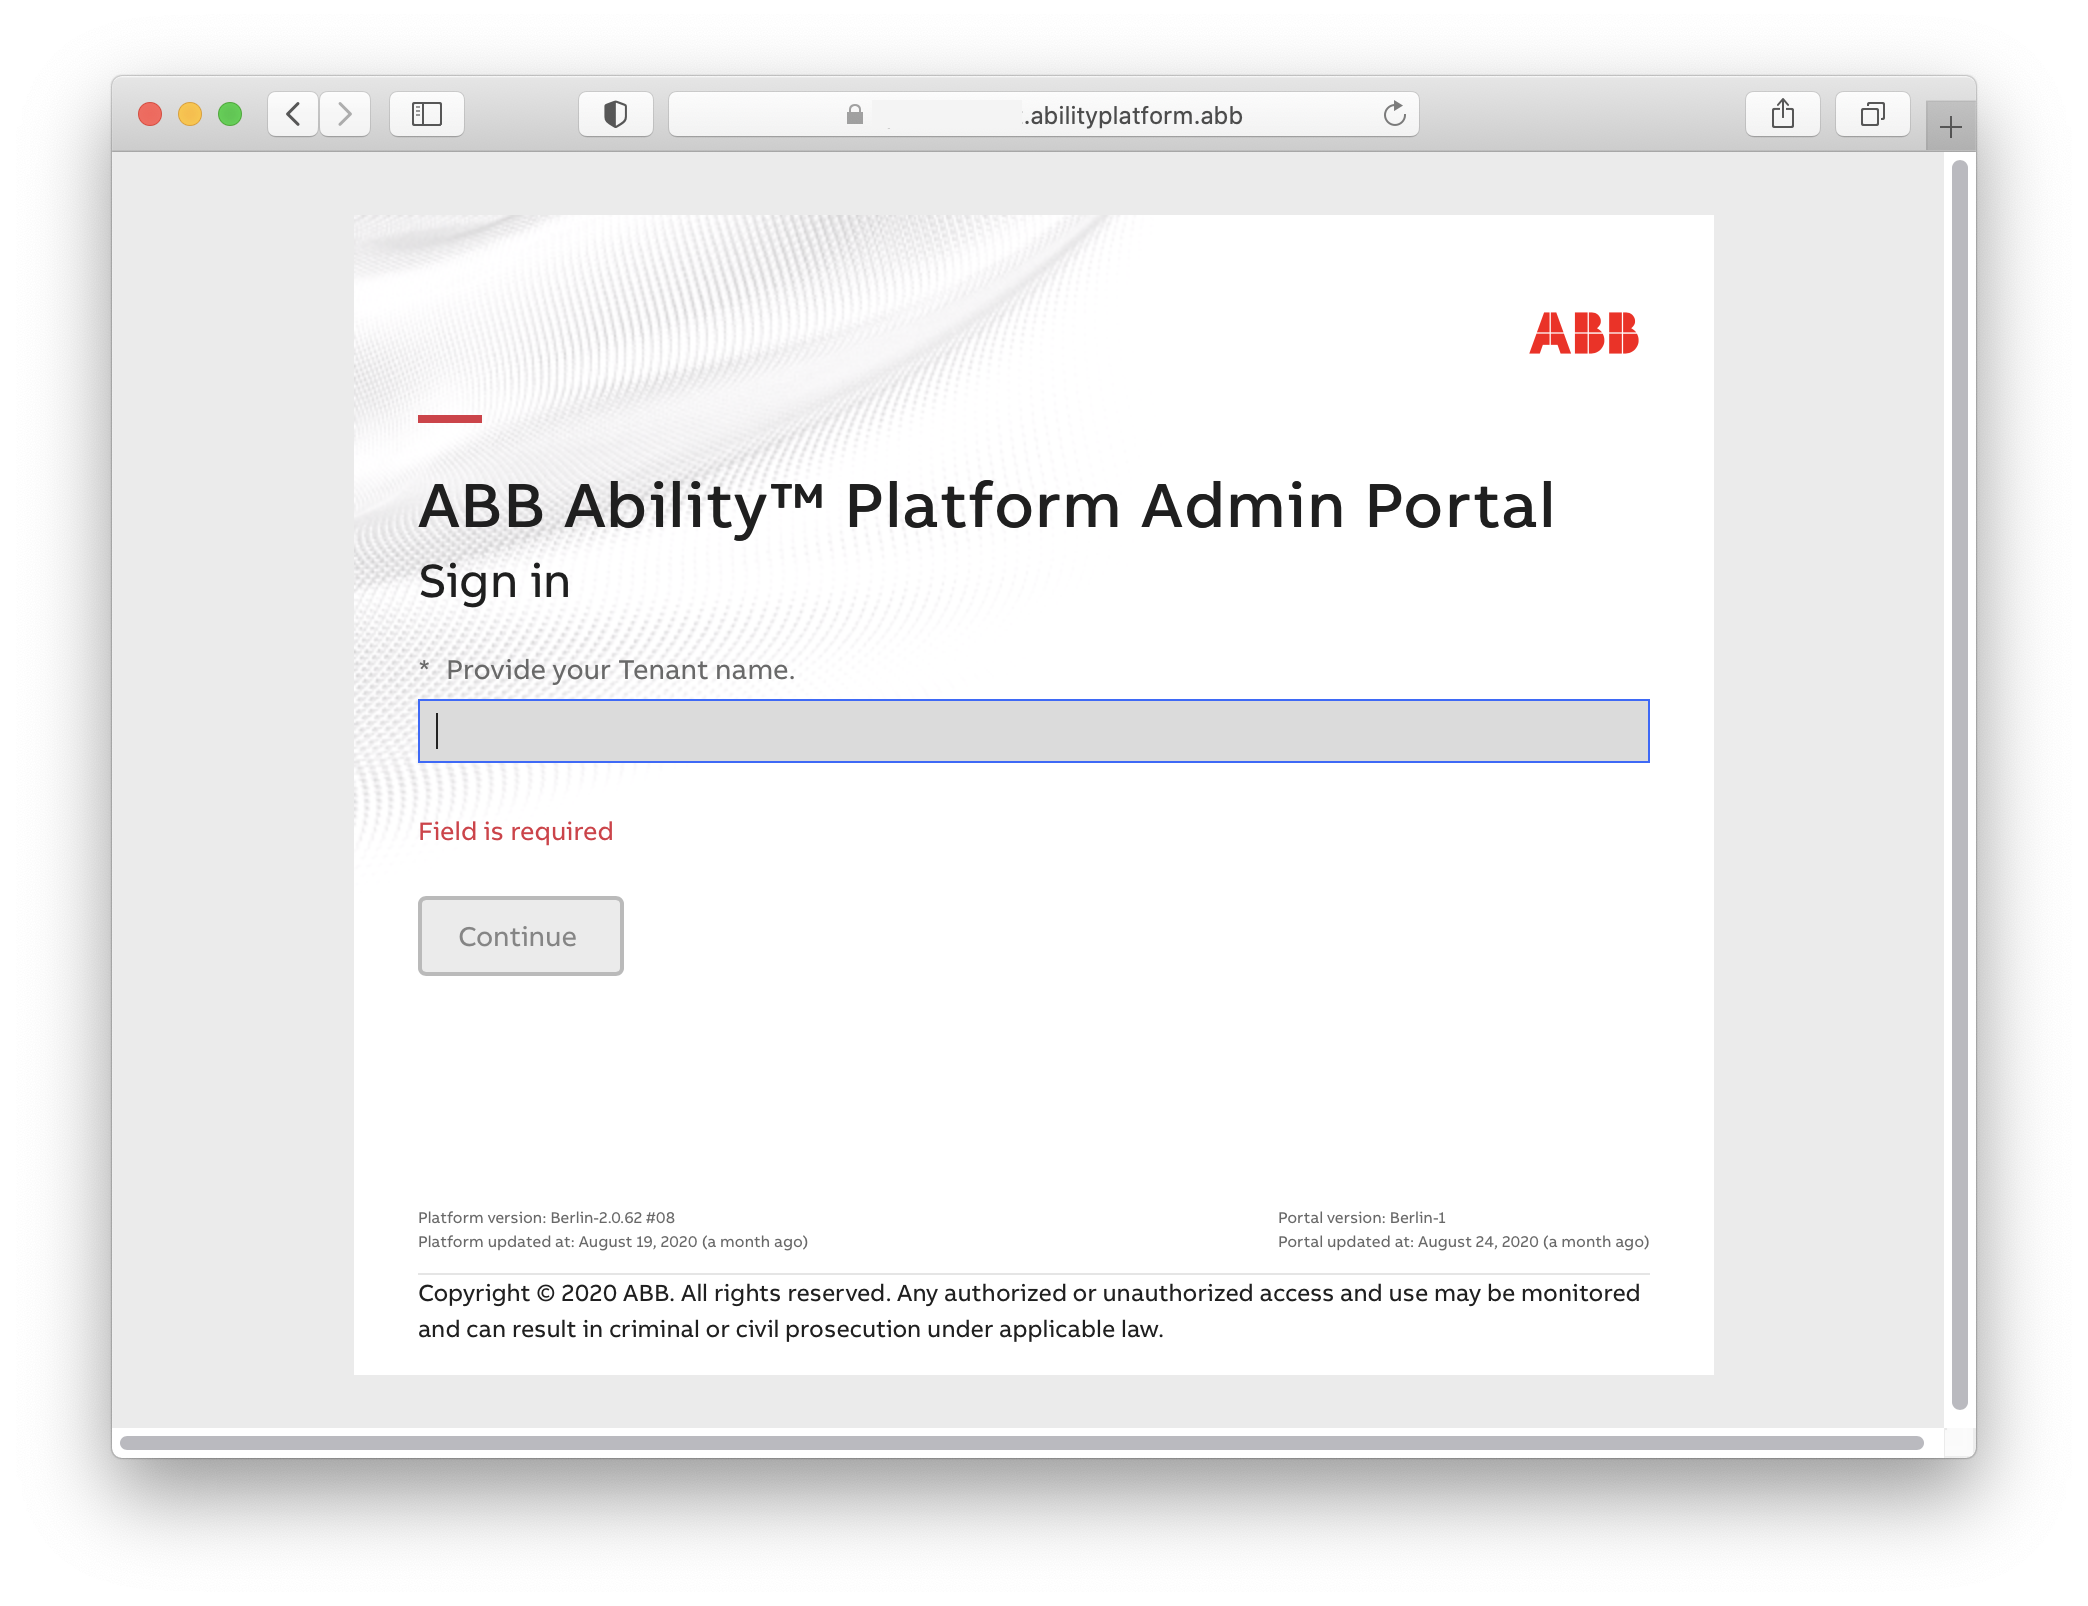
Sandbox Users
In the case of Ability Sandbox users, your tenant name is available in the mail that you got when your environment was created (under "Tenant Name"). If it contains any spaces, replace them with dashes ("-").
# Create a solution
Sandbox Users
This step should be skipped by the Sandbox users, since the solution is already created for you, and you are not actually able to create new ones. Just go to "Solutions" in the Portal and you will be taken directly to your solution. You can continue this guide by going to the Create a role section.
After logging in you will see the dashboard:
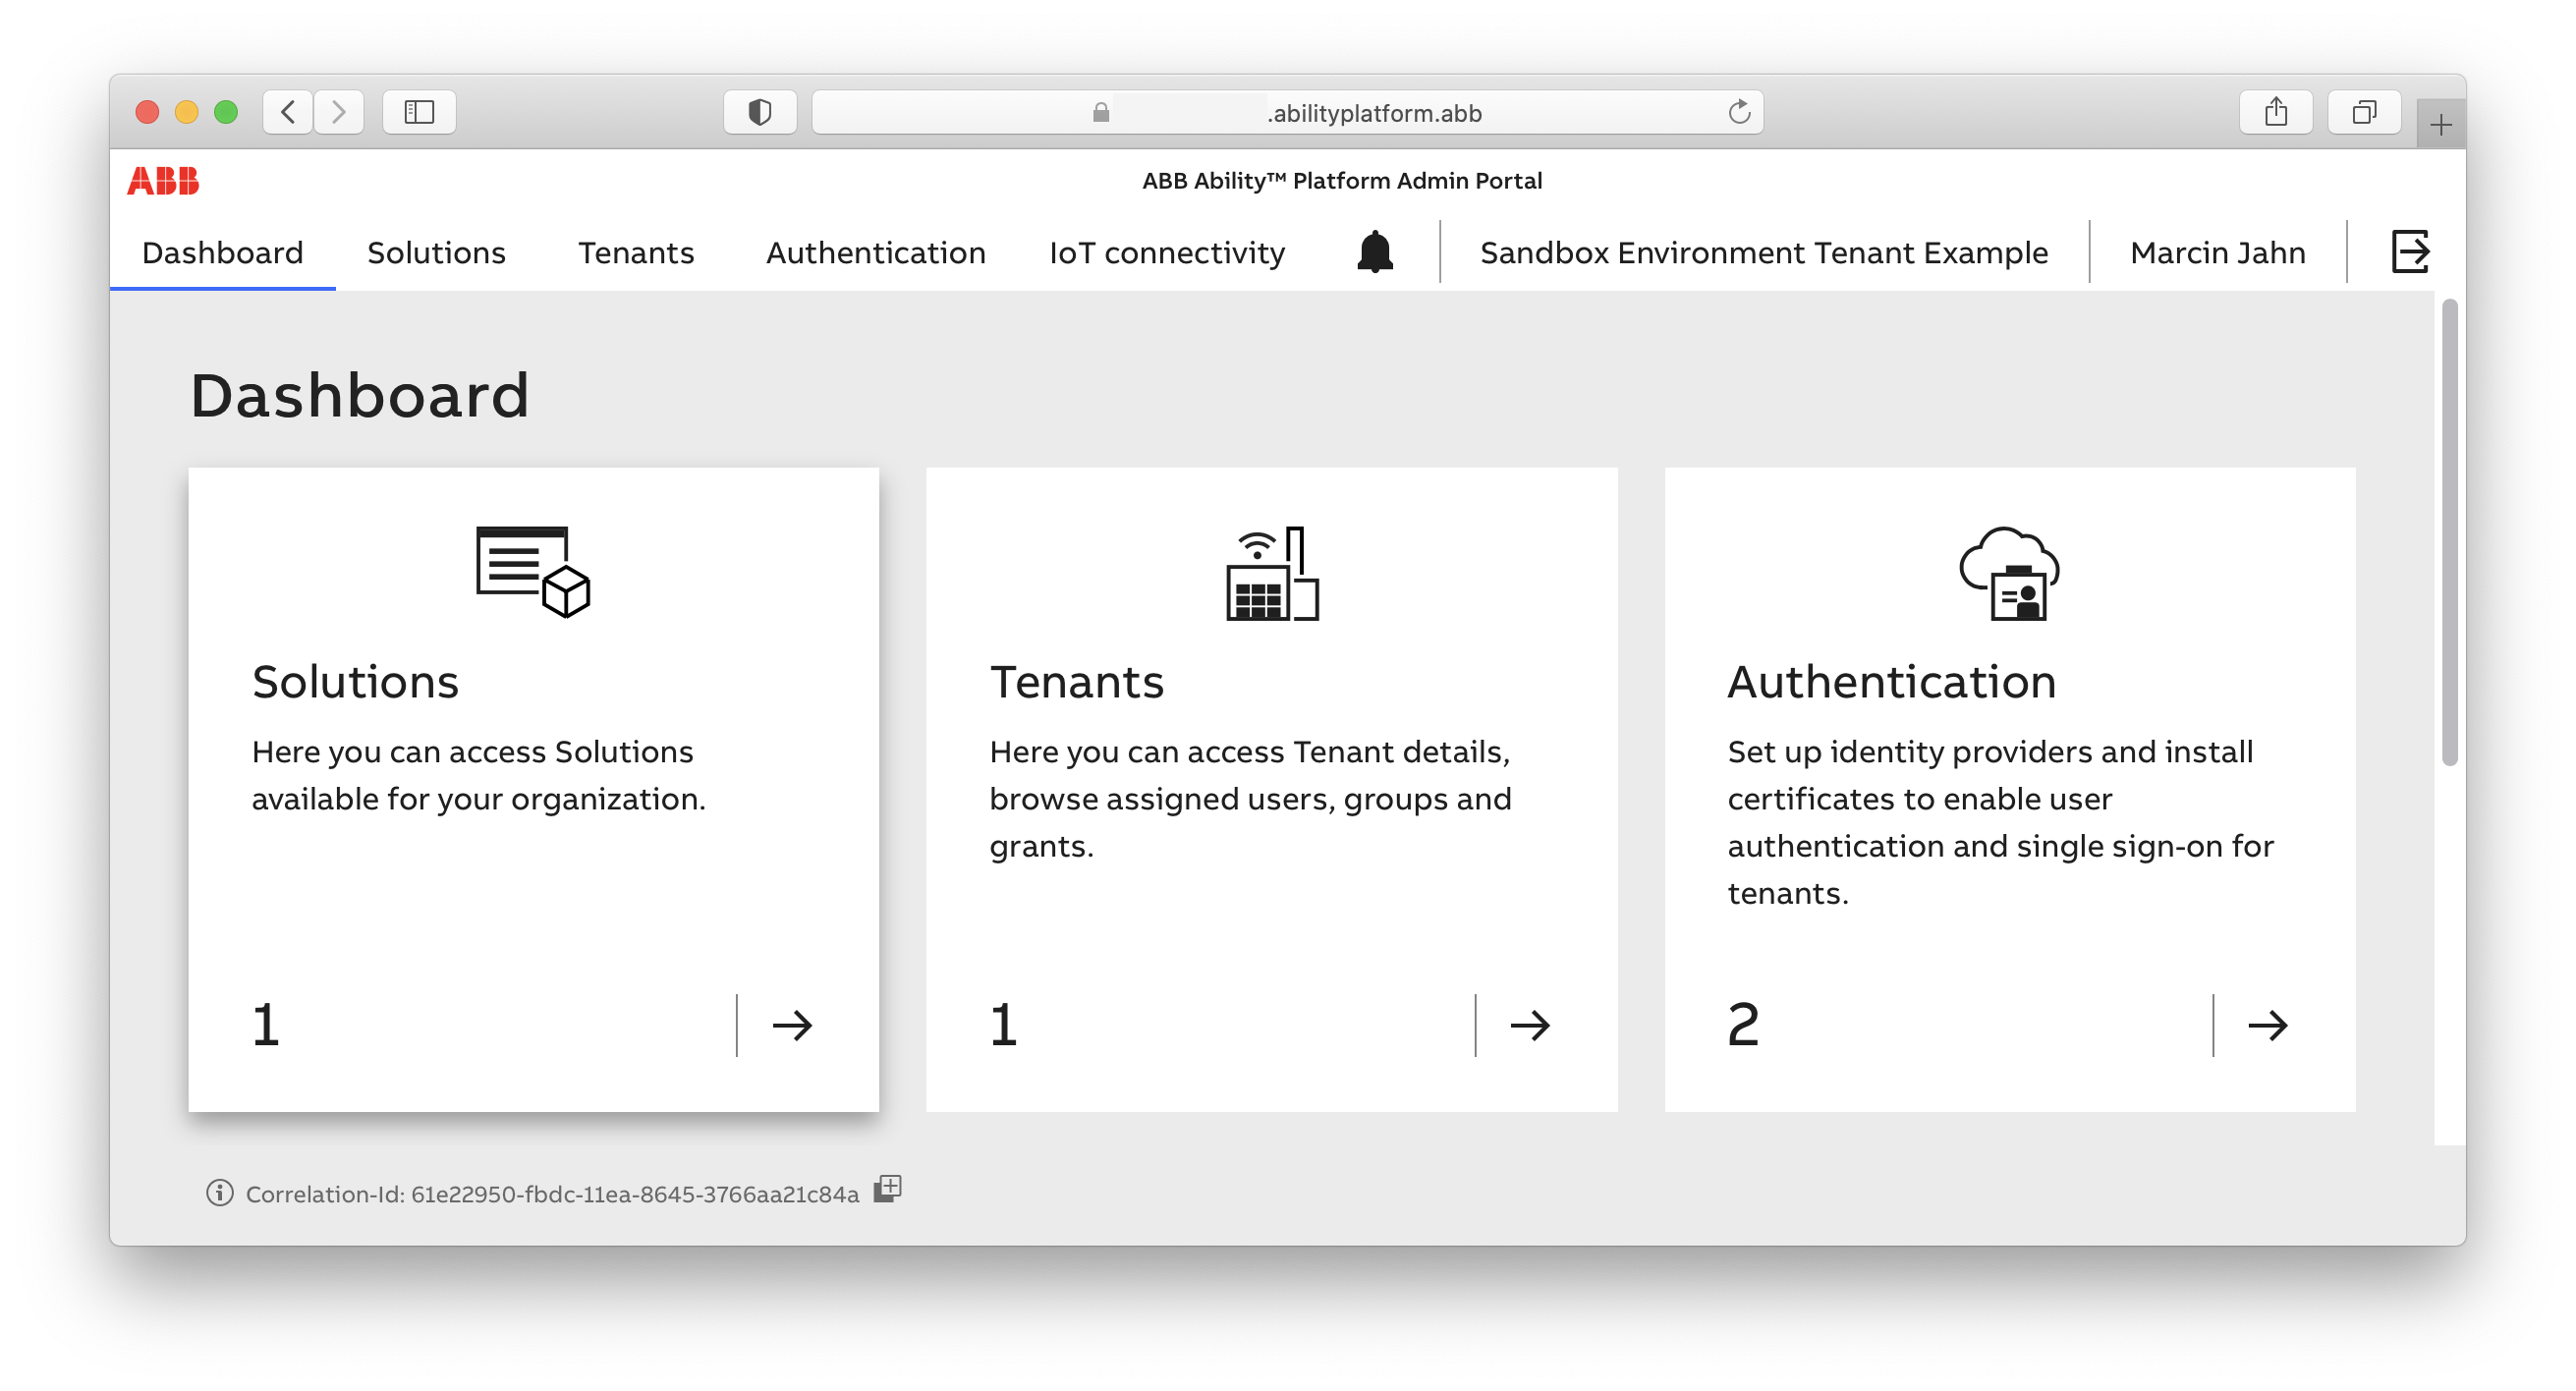
Go into "Solutions" and create a new one by clicking "New solution" button. Make sure that the solution you create has the "Instance" scope:
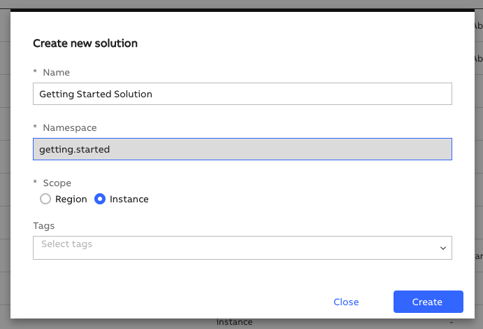
Getting back a bit to our discussion of the APIs - solution with an Instance scope allows you to manage access to the Instance API. This is exactly what we need right now.
After the solution gets created, find it on the list of solutions and go into it by clicking on its name.
# Admin Assignment
The last thing that you should do is to assign yourself as an admin of this new solution. Scroll down to the "Assigned administrators" section and click "Assign user". Select yourself on the list and click "Assign". You might need to log out and log in again to gain the new privileges.
# Create a contract
The solution that you created is intended to be a place where you will create all the necessary roles, grants, devices, applications. Additionally, the grants that you define here will be used by the users of your solution. For it to happen, you need to create a contract between the solution and the tenant where your users reside. In case of this tutorial, the users = you! Therefore, you need to create a contract between your solution and your tenant - most likely "ABB Ability" tenant, unless you have created a custom one.
Go to the "Contracts" tab and choose "New contract". Fill out the form, as shown below:

# Create a role
The solution itself is ready. Now we need to set it up for our needs. First, let's create a role that will be used by our application. A role defines a list of permissions that a given entity (application, user, device) will have. Go to the Roles tab and click the New Role button. You are going to see a modal with a bunch of checkboxes to choose from. For our needs, let's choose the following:
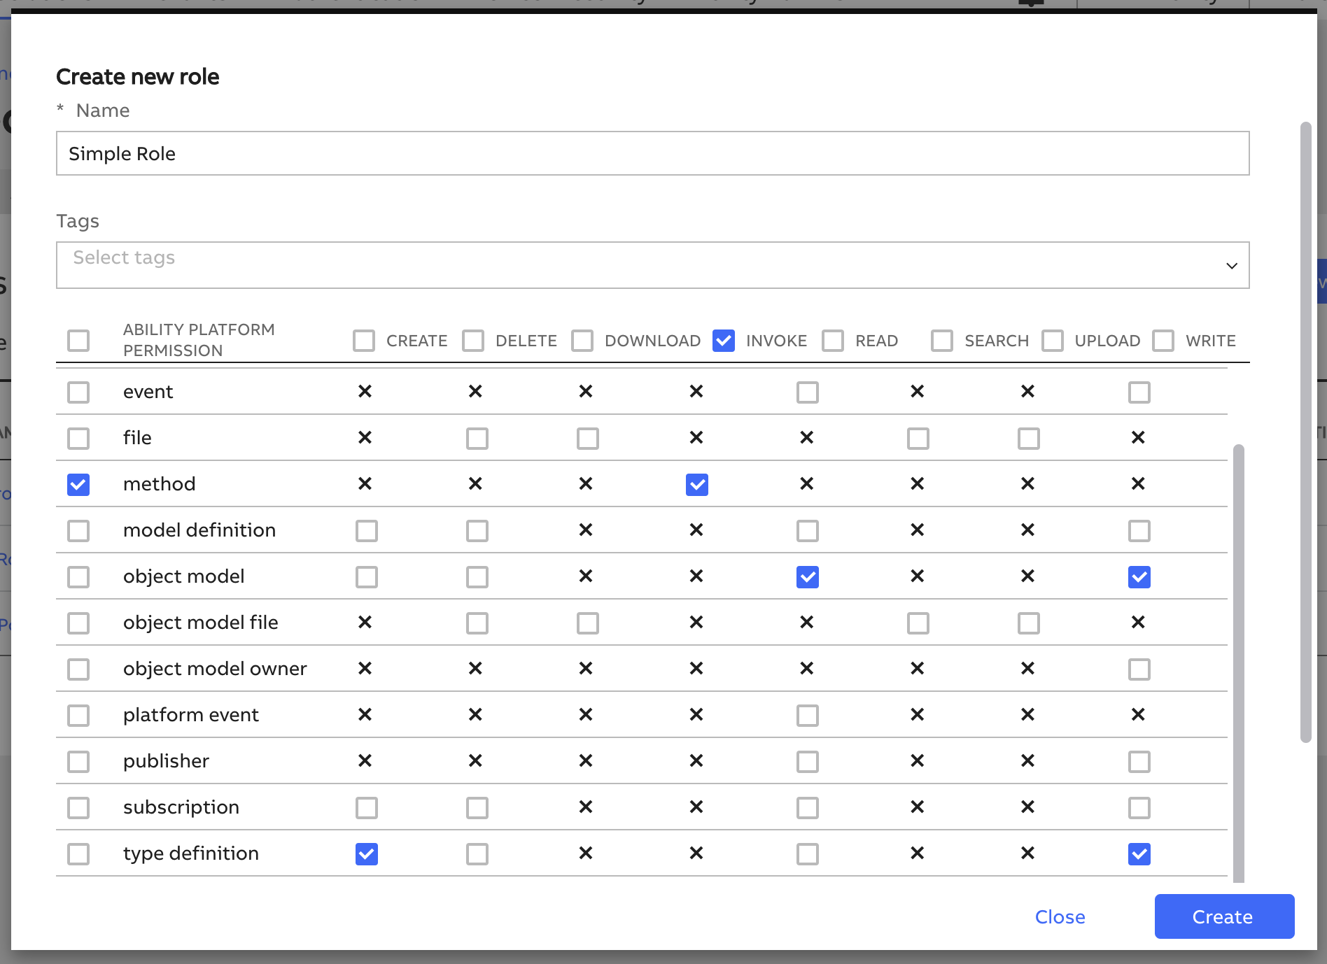
Namely, the selected permissions should be the following ones:
method_invoke,object_model_read,object_model_write,type_definition_create,type_definition_read,type_definition_write,variable_read.
The reason for selecting exactly these permissions will be explained later on, as we go with the tutorial.
Click Create and you should be able to see your new role in the list.
# Create a grant
We have a role, but it's not enough. What we really need is a grant. Grant is a "container" for a role with some additional information attached to it. Let's say you created a role that allows the user to read objects. Such a role is very generic. Do we want the user to read ALL objects or just some subset of them? This is where grants come in. They allow to add some rules on top of the roles. In our simple case, we will not add any rules. We will just create a grant based on our role and that's it.
Still on Admin Portal, go to the Grants tab, which is positioned right next to the Roles tab. Click on the New Grant button and fill in the form:
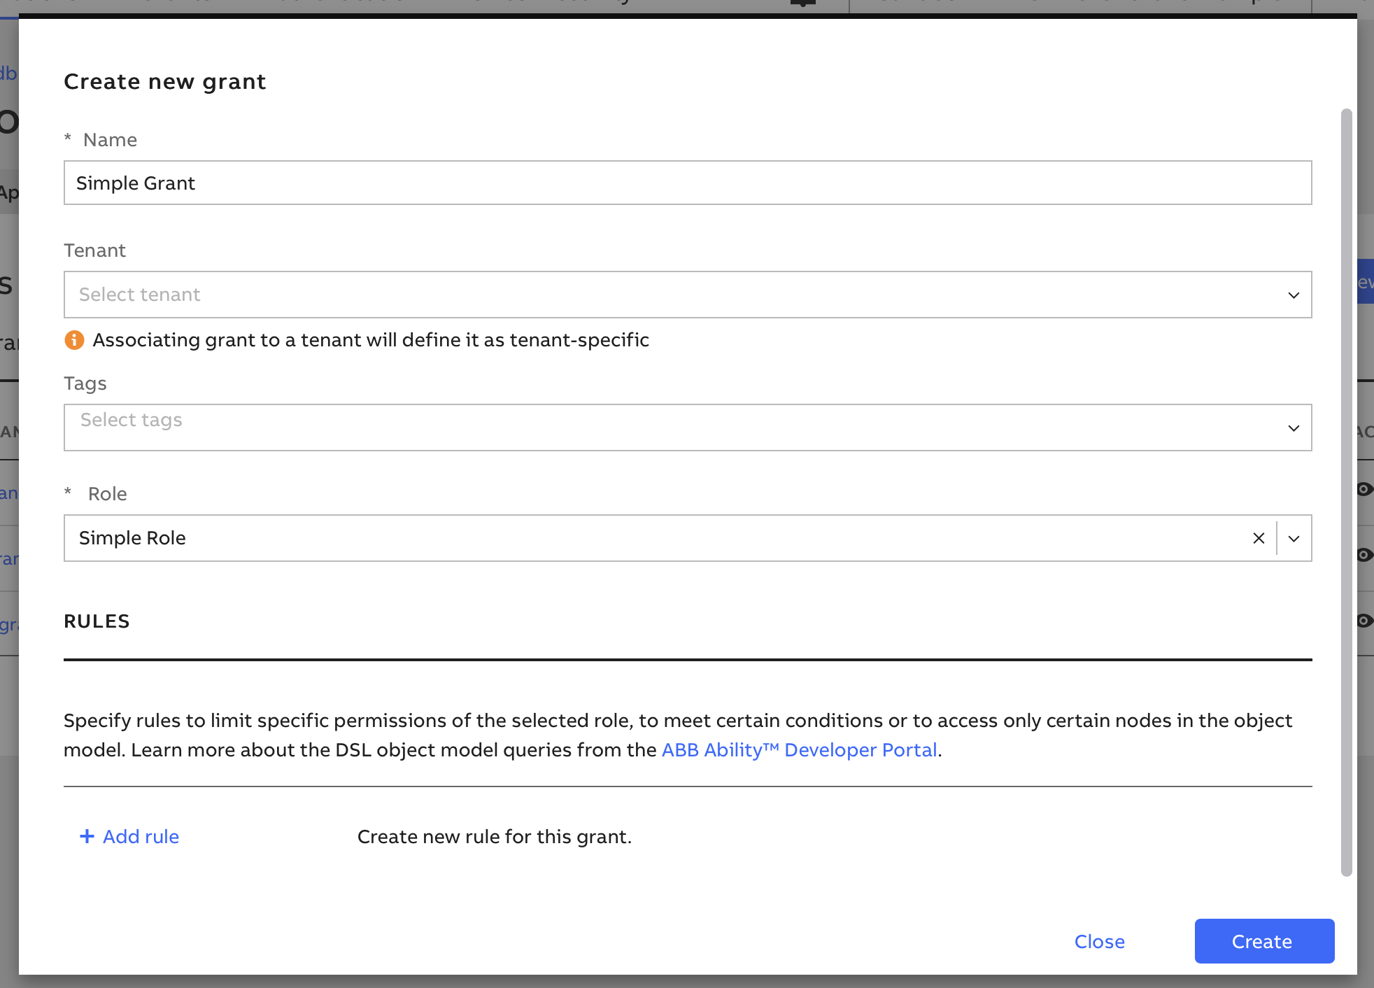
All you need to do is name your grant and select the role that it is based on. We don't need to limit the grant to any specific tenant, although there is such an option, if you'd want to. Doing that will limit the grant to be used only by users from some specified tenant.
Click Create and you should be able to see you new grant in the list.
You created the grant, but currently it's not assigned to any entity. Let's change that.
# Assign the grant to the user
Since you will be the user of the application that we are about to create soon, you need an access to the APIs that the application will consume. In other words, you need to have the grant, that we just created, assigned to you!
Let's go to the Tenants tab, at the top of the Admin Portal.

You will see a list of tenants (unless you're a Sandbox user). Choose your tenant (most likely "ABB Ability", unless you are using some custom one).
Sandbox Users
If you are a Sandbox user, by clicking the Tenants tab, you will be taken directly to your private tenant. You will not see a list of them, as a "normal" user would.
Navigate to the "Users" tab and select yourself. Then, navigate to the Grants tab and click Assign grant. Select the grant that we just created and click Save.
# Applications
Applications tab displays a list of all the available applications for the selected solution with following details:
| Parameters | Description |
|---|---|
| Application Name | Name of the application |
| Type | The application can have one of the following types: |
| • Single Page App | |
| • Native | |
| • Web | |
| • Background | |
| Delegate | You can select one of the following: |
| • User | |
| • Device | |
| • None | |
| Tags | Tag for the application |
| Action | You can do the following actions for the application: |
| • View | |
| • Edit | |
| • Delete | |
| • Audit Logs |
You can also create a new application using the New Application button, search for an application, and filter the list of applications displayed using the Filter icon. Select an application to open it in detailed view. Use the Grant tab to manage grants for the application.
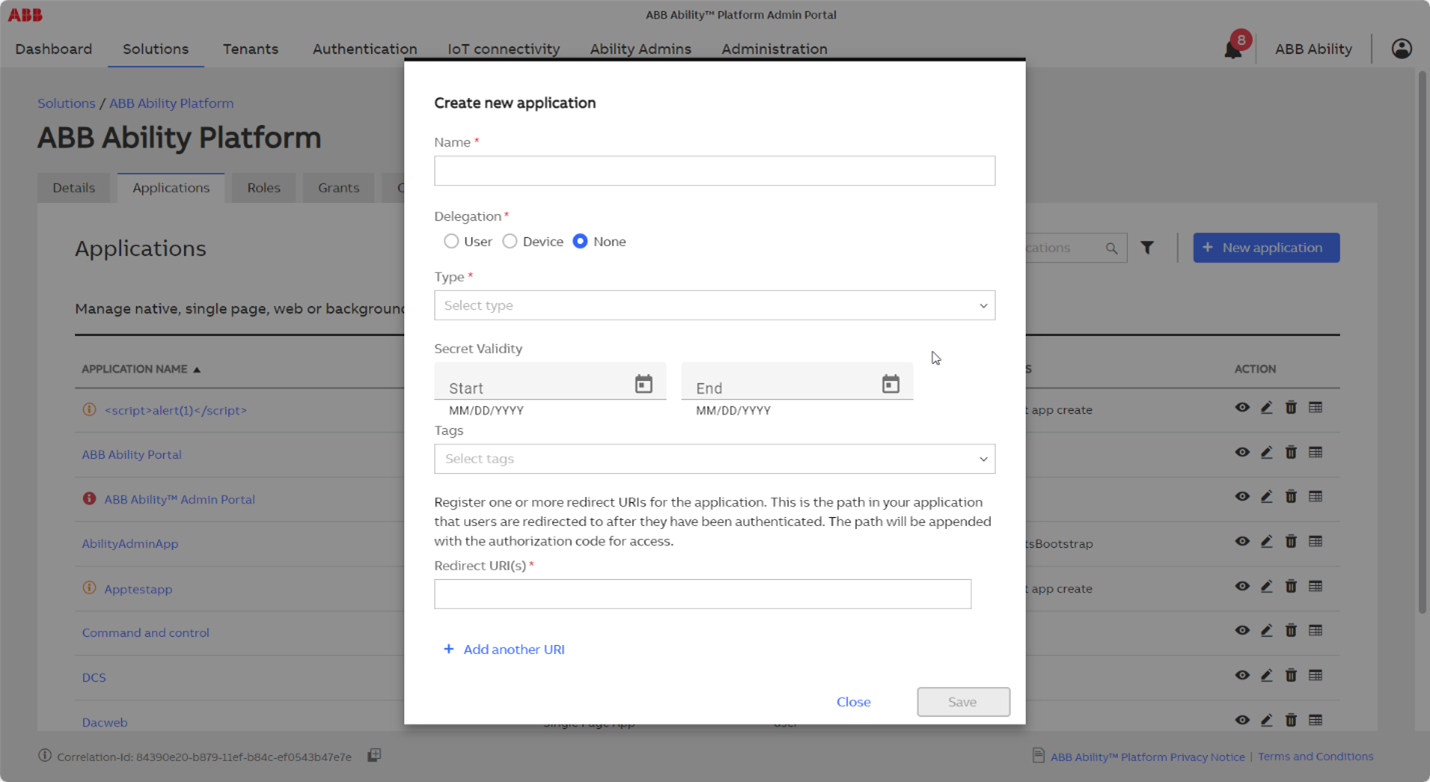
# Create New Application
- Open Solutions tab.
- In the ABB Ability Platform section, select Applications tab.
- Click New Application.
- Enter the application Name.
- Select Delegation from the following:
- User
- Device
- None
- Select one of following Type from the dropdown:
- Single Page App
- Native
- Web
- Background
- Select the Start and End date for Secret Validity.
Note: If you do not specify the Secret Validity, by default the start date is set to current date and the end date is set to two years from current date. - Select a Tag.
- Enter the Redirect URI. You can add more redirect URLs using the Add another URL button.
- Click Save.
# Detailed View
The application Details view displays following information for the selected application:
- ID
- Secret
- Name
- Delegation
- Type
- Directory Id
- Secret Validity
- Tags
You can use the Regenerate button to regenerate and modify the secret validity for the selected application.
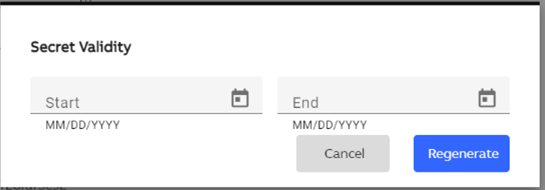
# Regenerate Secret Validity
In the Details tab, click Regenerate.
In the Secret Validity window, enter the Start and End date.
Note: If you do not specify the **Secret Validity**, by default the start date is set to current date and the end date is set to two years from current date.Click Regenerate.
# Email Notification
You will get an email notification three days before the application secrets are set to expire. ClientSecretExpireNotification is the template for secret expiry notification. You can manage this template from Genix. You can find the template in Administration > App Provisioning > Email Setting > Template. The template ensures that any changes are properly managed and authorized. For more information on templates, see Template in Platform Administration User Guide.
# Assign the grant to the application
Eventually, when our application is developed, we will be accessing Ability APIs through it. We have already assigned a grant to the user (yourself), but the application does not have any grant assigned yet - and it should. Let's change that.
Choose your app from the list (in your solution's "Applications" area):

Then, navigate to the "Grants" tab of it.
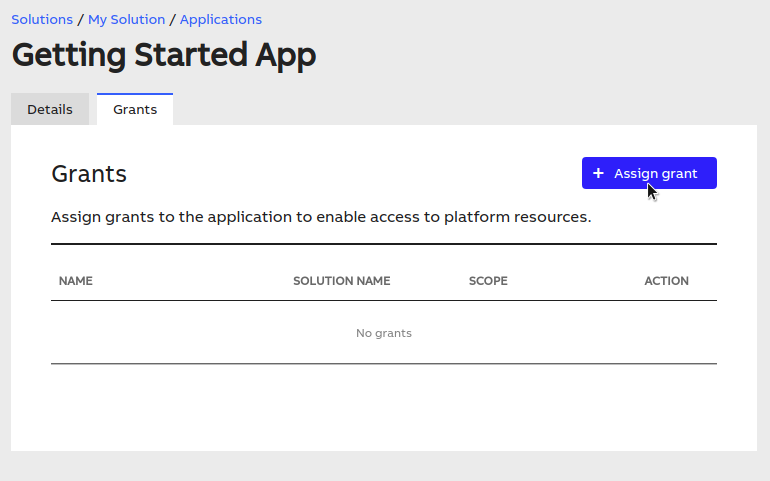
Same as you did with the user previously, assign the grant that we've created.
# Summary
At this point, the initial setup of our solution is done, and you should now be familiar with the Admin Portal. Note that we haven't finished the setup completely yet. We will come back to the Portal soon - when we will be dealing with connecting a device. For now, you can continue to the next tutorial, where you will start developing the web application.